Create a self signed certificate for local development
September 2018
Intro
In this post I will cover creating a self-signed certificate for local development and then create a PEM file from that to apply to HAProxy and a Cer file to import into the Windows certificate store so the PEM file applied to HAProxy is trusted when connecting to the application behind HAProxy over https.
I have been creating a Jenkins runbook with Ansible to configure a Jenkins server and wanted to make this installation as realistic as possible so that meant using https to connect to Jenkins. To achieve this I installed HAProxy loadbalancer on the same linux machine to take care of the TLS termination. I needed a PEM certificate to apply to the loadbalancer but as I didn’t want to pay for a certificate for testing locally and you can’t use Let’s Encrypt excellent free certificates that automatically renew themselves on localhost, I followed the Let’s Encrypt guide on how to create a self signed certificate.
The process can be adapted to create other certificate types instead of the PEM format that your application needs with the OpenSSL application.
For this post, I used a Windows 10 Laptop, taking advantage of having [Windows Subsystem (WSL)] for Linux installed, but all openssl commands work on a regular Linux distro with openssl installed.
Certificate and private key
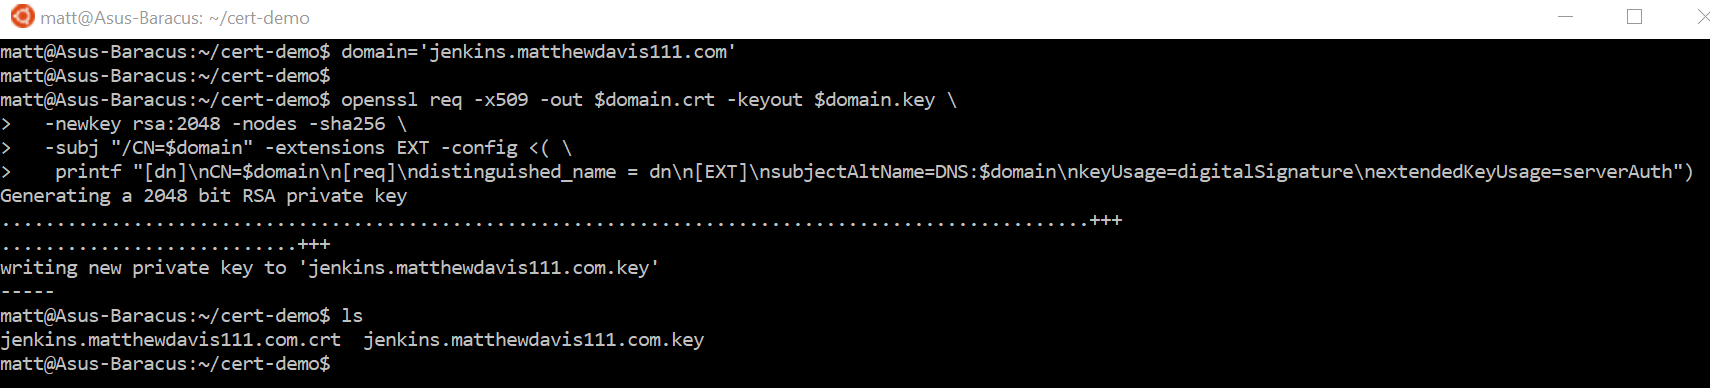
In WSL, create the certificate and private key using open-ssl (this is taken directly from the let’s encrypt article with a variable thrown in for good measure).
#variable to hold domain name, replace with desired domain
domain='jenkins.matthewdavis111.com'

#create the certificate and private key
openssl req -x509 -out $domain.crt -keyout $domain.key \
  -newkey rsa:2048 -nodes -sha256  \
  -subj "/CN=$domain" -extensions EXT -config <( \printf "[dn]\nCN=$domain\n[req]\ndistinguished_name = dn\n[EXT]\nsubjectAltName=DNS:$domain\nkeyUsage=digitalSignature\nextendedKeyUsage=serverAuth")
Create the PEM
The PEM certificate is required for HAProxy, the file is created by combining the certificate and the private key.
Note: because this file contains the private key, extra care should be taken with it and should be treated as a password.
cat $domain.crt $domain.key >> jenkins.pem
Edit the host file
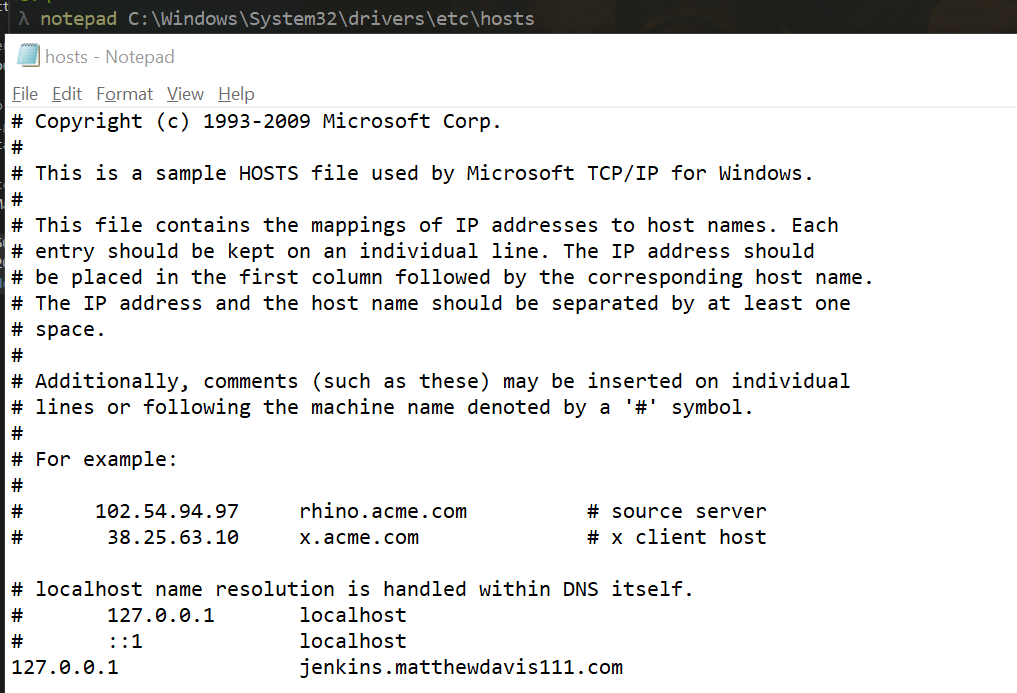
Now that I’ve created the PEM file, I’ve applied it to HAProxy in front of Jenkins running locally and updated the host file on my computer to point my Jenkins domain name to local host address.
To edit the hosts file, run PowerShell as admin and open the host file in notepad:
# safety first, back up the hosts file
$hostFile = ' c:\windows\system32\drivers\etc\hosts'
Copy-Item -Path $hostFile -Destination "$hostFile.old"
notepad $hostFile
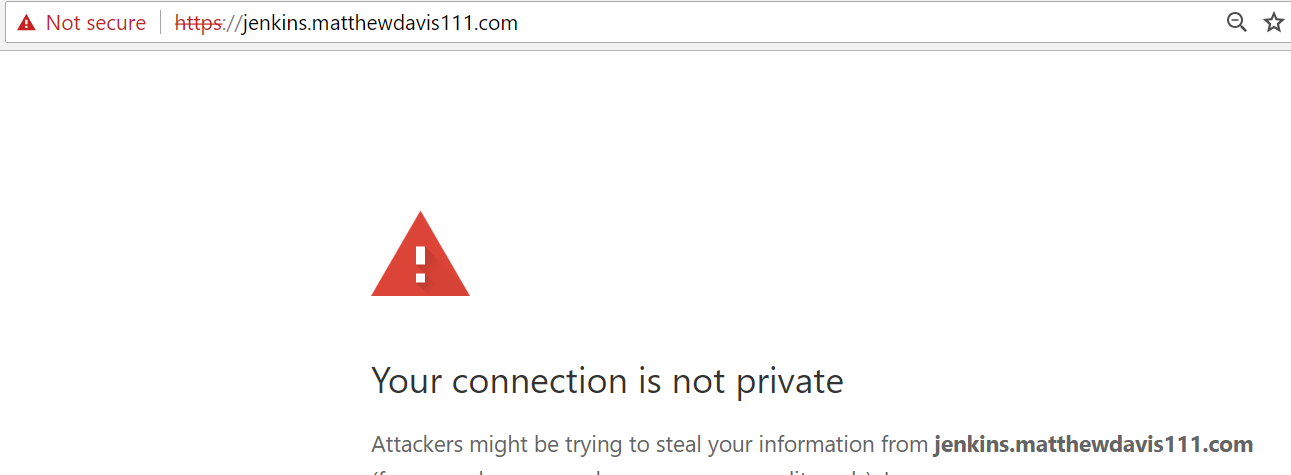
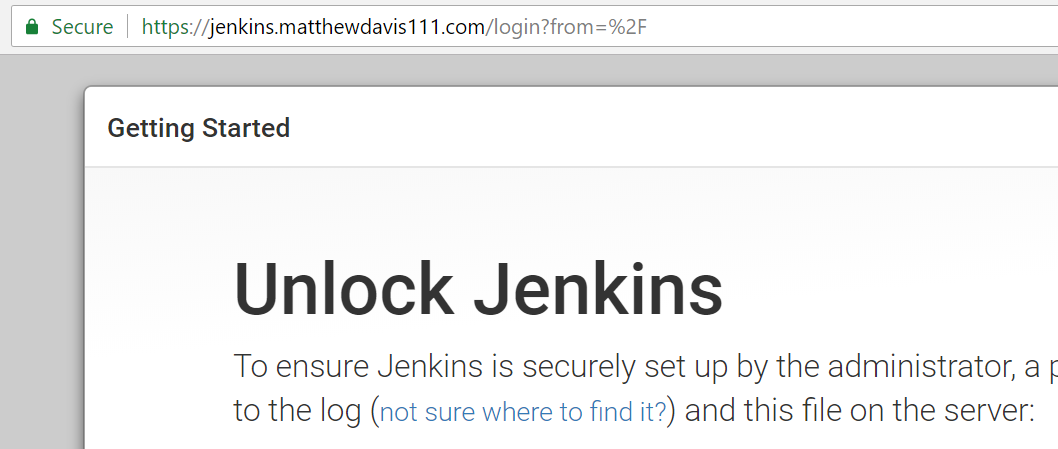
When I access Jenkins locally over https, it connects and the certificate is rightly not trusted and the connection is marked as not secure.
Windows certificate
To make Chrome trust the self-signed certificate, the certificate created earlier needs to be installed in the trusted roots location of the Windows certificate store.
Copy the crt Certificate file create earlier to a location Windows can access (I copy to a TEMP directory I’ve created at the root of the C directory which is found in the directory path of /mnt/c in WSL).
cp $domain.crt /mnt/c/TEMP/

Import certificate to Windows
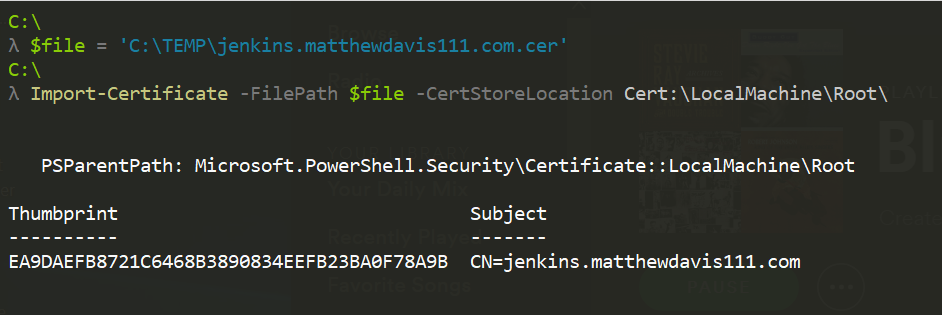
To import the certificate to the Windows certificate store, use PowerShell running as an administrator to import to the LocalMachine store (for all users) or to the CurrentUser certificate store (for current user, you’ll need to accept the dialogue pop up).
#path and name of crt file that was copied from WSL
$file = 'C:\TEMP\jenkins.matthewdavis111.com.crt'

#Import self signed cert to trusted root for the current user - accept the dialogue pop up.
Import-Certificate -FilePath $file -CertStoreLocation Cert:\CurrentUser\Root\
Now the connection will be trusted over https when using Google Chrome (you’ll need to shutdown and restart chrome). This doesn’t work with Firefox which uses its own separate certificate store.
Here is Jenkins now running locally with the PEM file created configured in HAProxy and showing trusted because the crt file has been added to the Windows certificate store.
Tidy up
Finally to tidy up and remove the self signed cert after testing has finished, run the following in PowerShell as an administrator
#Clean up the cert from the root store
Get-ChildItem Cert:\CurrentUser\Root\ | Where-Object -FilterScript {$_.subject -like "*jenkins.matthewdavis111.com*"} | Remove-Item

You should also clean up your hosts file, you can edit it to remove the entry or replace with the old host file that was created before making the change.
Summary
Creating a self-signed certificate for local testing doesn’t take long and lets you test applications in a production like environment over https. Self-signed certificates are only good for local testing and won’t be valid for anyone else, so in cases when you need others to connect to your application or site over SSL it is best to use Let’s Encrypt (you could easily and cheaply host on a cloud platform such as AWS, Azure or Google Cloud Platform, or host your own webserver so it is publicly available and reachable by Let’s Encrypt).
It’s made a lot easier now on Windows platforms with the WSL which I think is great!