Manage multiple Azure accounts with PowerShell using AzContext cmdlets
August 2019
Overview
I’ve been using Azure a lot again recently, working with different subscriptions in my work and personal accounts. To do this with PowerShell AZ module, you use the Connect-AZAccount to authenticate with the Azure environment. You can use the AZContext cmdlets to manage which environment and subscription you are running your commands against.
I’ll run through my workflow of setting up the contexts to work with different subscriptions in different accounts, and exporting them so they can be loaded again in the future.
Connect-AzAccount
You can check to see if there are any contexts available and list all of them with the following command and switch parameter
Get-AzContext -ListAvailable

If you have not connected or loaded any contexts, then there will be none available. First step will be to connect to Azure with an account that has the right permissions required to carry out the work you want to do.
Run the Connect-AzAccount cmdlet to authenticate to the account(s) you want to. After running the cmdlet, you can see the context you are working with by running the Get-AzContext. To connect to another Azure account, run the Connect cmdlet again.
Connect-AzAccount

Below shows my personal and work accounts connected.

Renaming the contexts
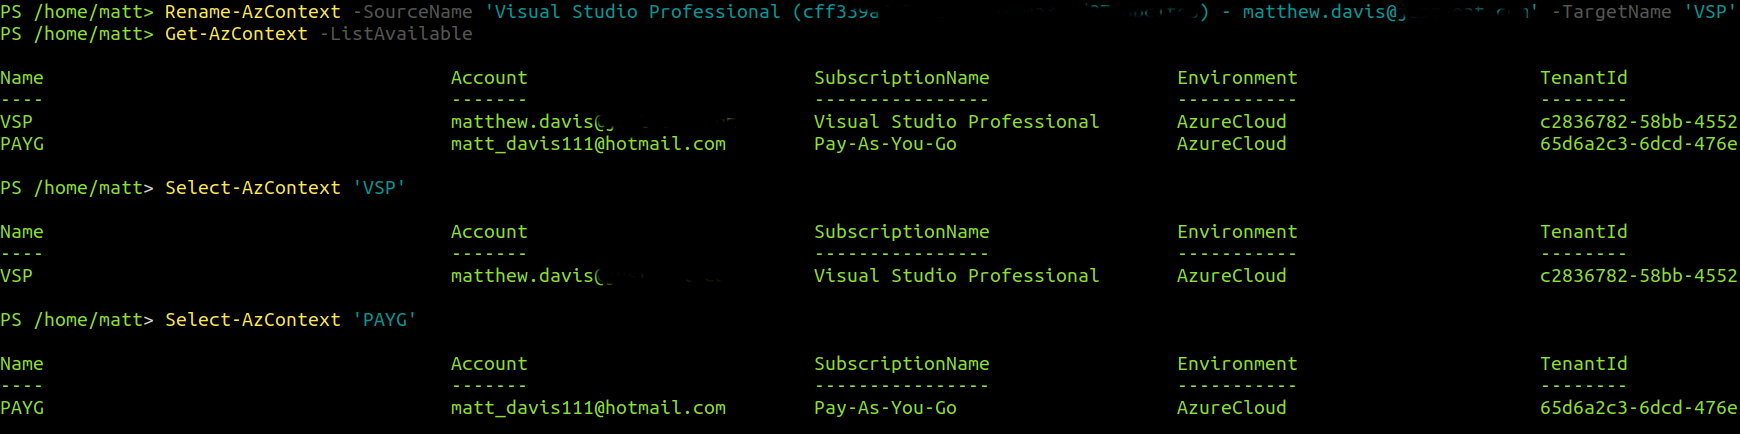
When importing the context, they have long names with spaces in them. Typing the first letter(s) of the name and pressing the tab key will auto complete the name, but I like to rename the subscriptions.
Rename-AzContext -SourceName 'Pay-As-You-Go (xxxxxxxx-xxxx-xxxxxx-xxxx-xxxxxxxxxx) xxx.xxx@xxx' -TargetName 'PAYG'

Rename-AzContext -SourceName 'Visual Studio Professional (xxxxxxxx-xxxx-xxxxxx-xxxx-xxxxxxxxxx) xxx.xxx@xxx' -TargetName 'VSP'

Now we can change context easily.
Select-AzContext 'VSP'
Select-AzContext 'PAYG'
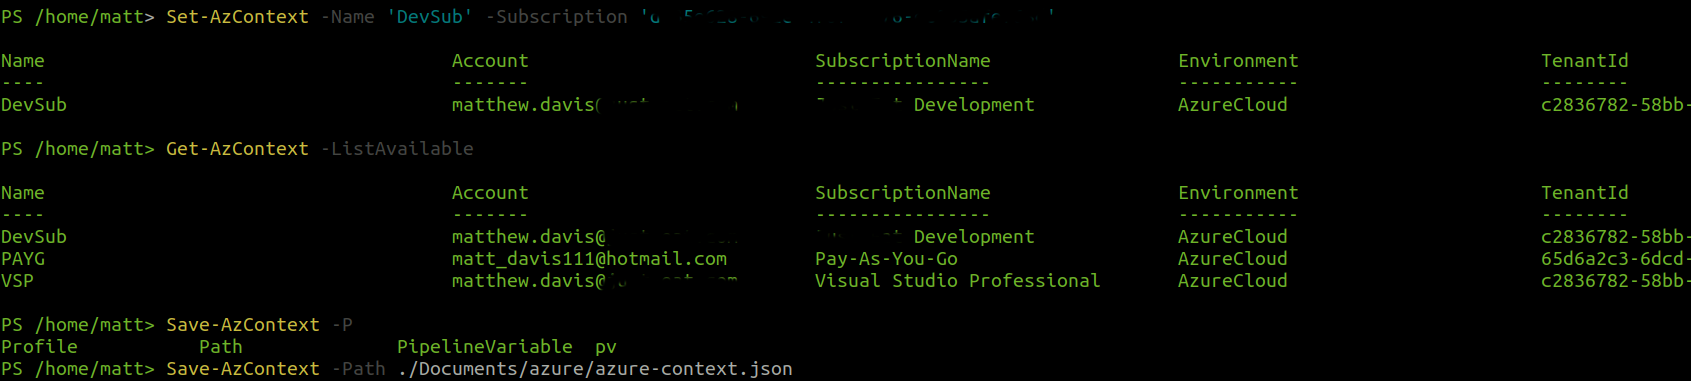
Saving the context settings
Now the two contexts have been set up, they can be saved to be imported later on.
Save-AzContext -Path /home/matt/Documents/azure/azure-context.json
Importing the context settings
The saved contexts can be imported easily enough
Import-AzContext /home/matt/Documents/azure/azure-context.json
Adding more subscriptions
My personal account only has one subscription, but my work account has multiple subscriptions so I need to import the ones that I will be working with.
First we can get the subscription details.
Make sure you are using the context of the Azure account that has the other subscriptions you want to import.
Get-AzSubscription
To add a new context for a new subscription
Set-AzContext -Subscription 'xxxxx-xxxx-xxxx-xxxx-xxxx' -Name 'DevSub'
To add all subscriptions to your Azure context you can run the following.
Get-AzSubscription | Set-AzContext
Iterating over subscriptions
Now we have all the subscriptions we are working with set up as context, you can work with resources across all of the context using a loop.
# save list of contexts
$ctxList = Get-AzContext -ListAvailable

# output resource group name and location for each context
foreach($ctx in $ctxList){
  Select-AzContext -Name $ctx.Name | Out-Null
  Write-Output "$($ctx.Name) resource groups:"
  Get-AzResourceGroup | Select-Object ResourceGroupName, Location
}
Summary
Working across multiple Azure accounts and subscriptions is made easier with the AzContext cmdlet, saving the context with an easier to type name helps (especially in automation), however using tab to auto complete when working interactively makes it less painful. Being able to save and import the context means you can get them set up with memorable names and makes switching between subscriptions and accounts simpler.