Using Docker container for Pester testing
August 2017
Overview
When running Pester tests, it’s nice to know that you are running against the correct version of the module you are testing and there are no environment variables that could influence the test in an unexpected way. You can unload all modules and check the environment variables but I was following a Docker course on lynda.com and thought it would be pretty cool to use the PowerShell docker image from Microsoft to spin up a container, run the tests on a “clean” system and then output the results.
Note: The docker image runs the PowerShell Core Edition which doesn’t have all the modules as the Desktop Edition (see Microsoft overview of PowerShell editions). So you may not be able to use this method to test your scripts if they rely on cmdlets only available in the Desktop Edition.
For a guide to installing Docker, see the docker docs on installing.
I did this using PowerShell Core 6 running on a Ubuntu laptop.
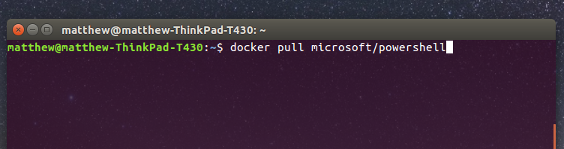
I had downloaded the microsoft/powershell Docker image from Docker Hub to my local machine from the docker repository.
docker pull microsoft/powershell
The process for running Pester tests in a Docker container:
- Create a container from the microsoft/powershell image.
- Mount the folder where your PowerShell script and tests are as a volume in the container
- Set the working directory of the container to the mounted volume
- Invoke-Pester against the script in the container
- Output the results to the mounted volume which will be accessible from your client machine
- Exit the container
Here is the command that I ran:
docker run --rm -it -w /tests -v ~/Documents/PowerShell:/tests microsoft/powershell

In the container run
Invoke-Pester -OutputFile results.xml -OutputFormat NUnitXml
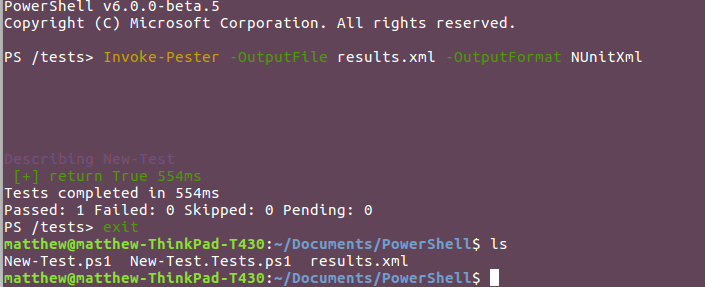
I run docker to create a container with a directory mapped to a volume in the container from my host laptop. The directory on my laptop is ~/Documents/PowerShell and the directory in the container is /tests.The -w option is used to set the working directory in the container to /tests. Once the container is created, Invoke-Pester is executed in the directory containing the tests and the results are outputted to a file in the /tests directory which will write to the local directory on the laptop once the container is run and has exited (type exit in the container) and has been removed (the rm command).
Creating a Docker Image with the AWS module installed
As I was also testing some code that used the AWS module, instead of installing the module each time the test ran which would add significantly more time to the test, creating a new docker image with the module already installed with a DockerFile allowed me to create a container with the necessary module.
Create a text file called Dockerfile. The following code:
- Creates a container from the microsoft/powershell image
- Installs the AWS PowerShell module in the container
- Creates an image from the above container with the AWS module installed
Navigate into the directory where you created the file (cd ~/Documents/Docker/PowerShell) run the following to create the image:
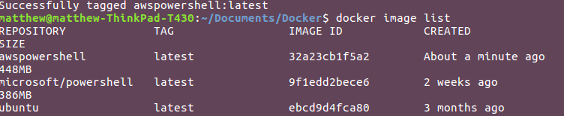
docker build -t awspowershell

You should now be able to see your new image and create containers from it. The -t parameter adds the tag of awspowershell to the image.
docker image list