Deploy S3 bucket to Amazon Web Services with Visual Studio Team Services
September 2017
Overview
In my previous post I outlined how to set up a service endpoint from Visual Studio Team Services (VSTS) to Amazon Web Services (AWS) that allows you to deploy AWS resource from VSTS. In this post, I’ll outline how deploy an S3 bucket via VSTS. This method will be similar to other AWS resources, you just need to specify the other resources in the CloudFormation templates.
Before starting, you’ll need
- AWS Tools for Microsoft Visual Studio Team Services extension installed from the market place
- A service endpoint created
New VSTS Project
With the endpoint created to AWS, either create a new project to upload the CloudFormation templates to or if the templates are in another repository (Github or Bitbucket) skip ahead to the build step and link those as the build source. This post will show you how to create a new project, add the templates, create a build step and finally a release phase that will deploy the resources.
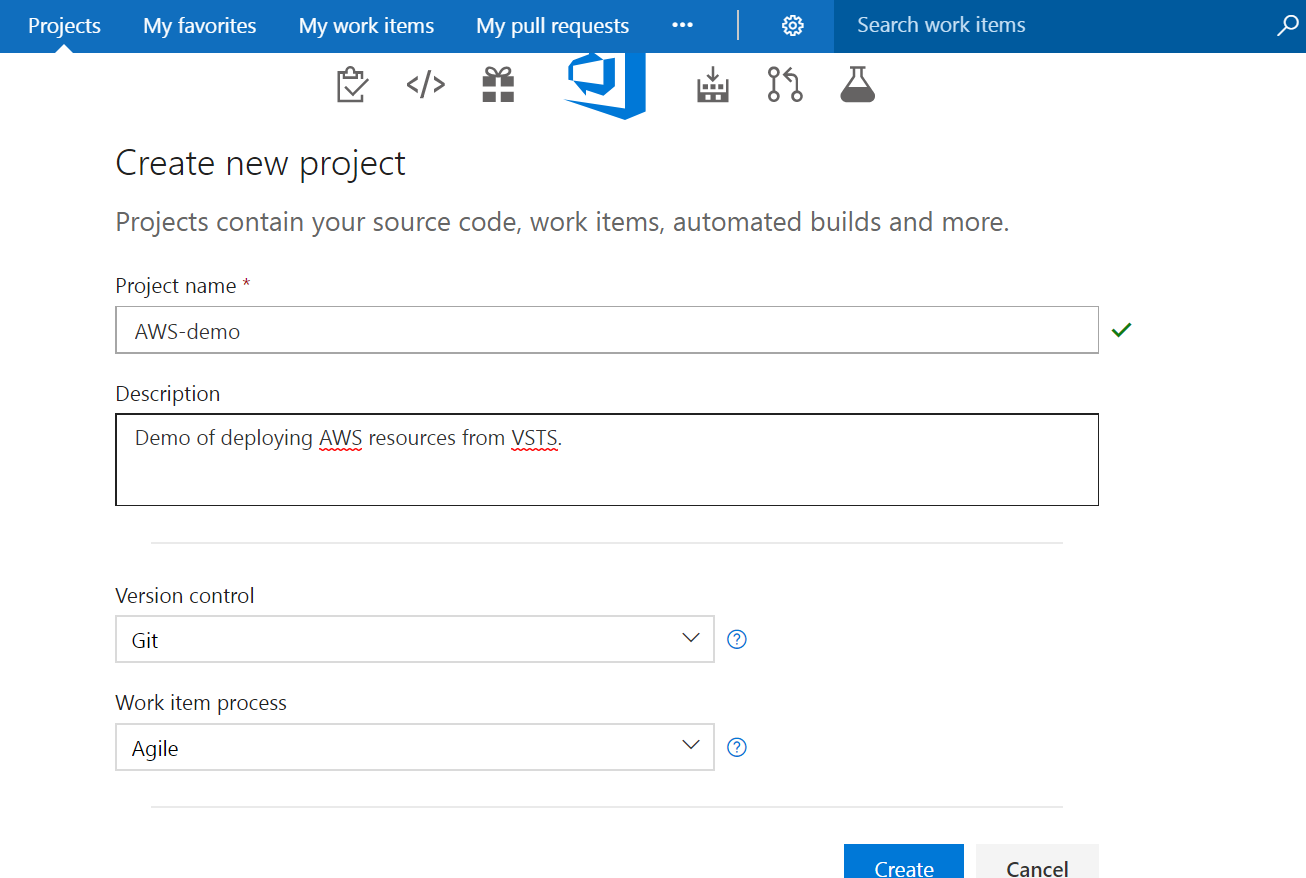
From the main screen, click the New Project Button. Enter the following details:
- Project name
- Description
- Git Version Control
- Agile Work item process
CloudFormation Templates
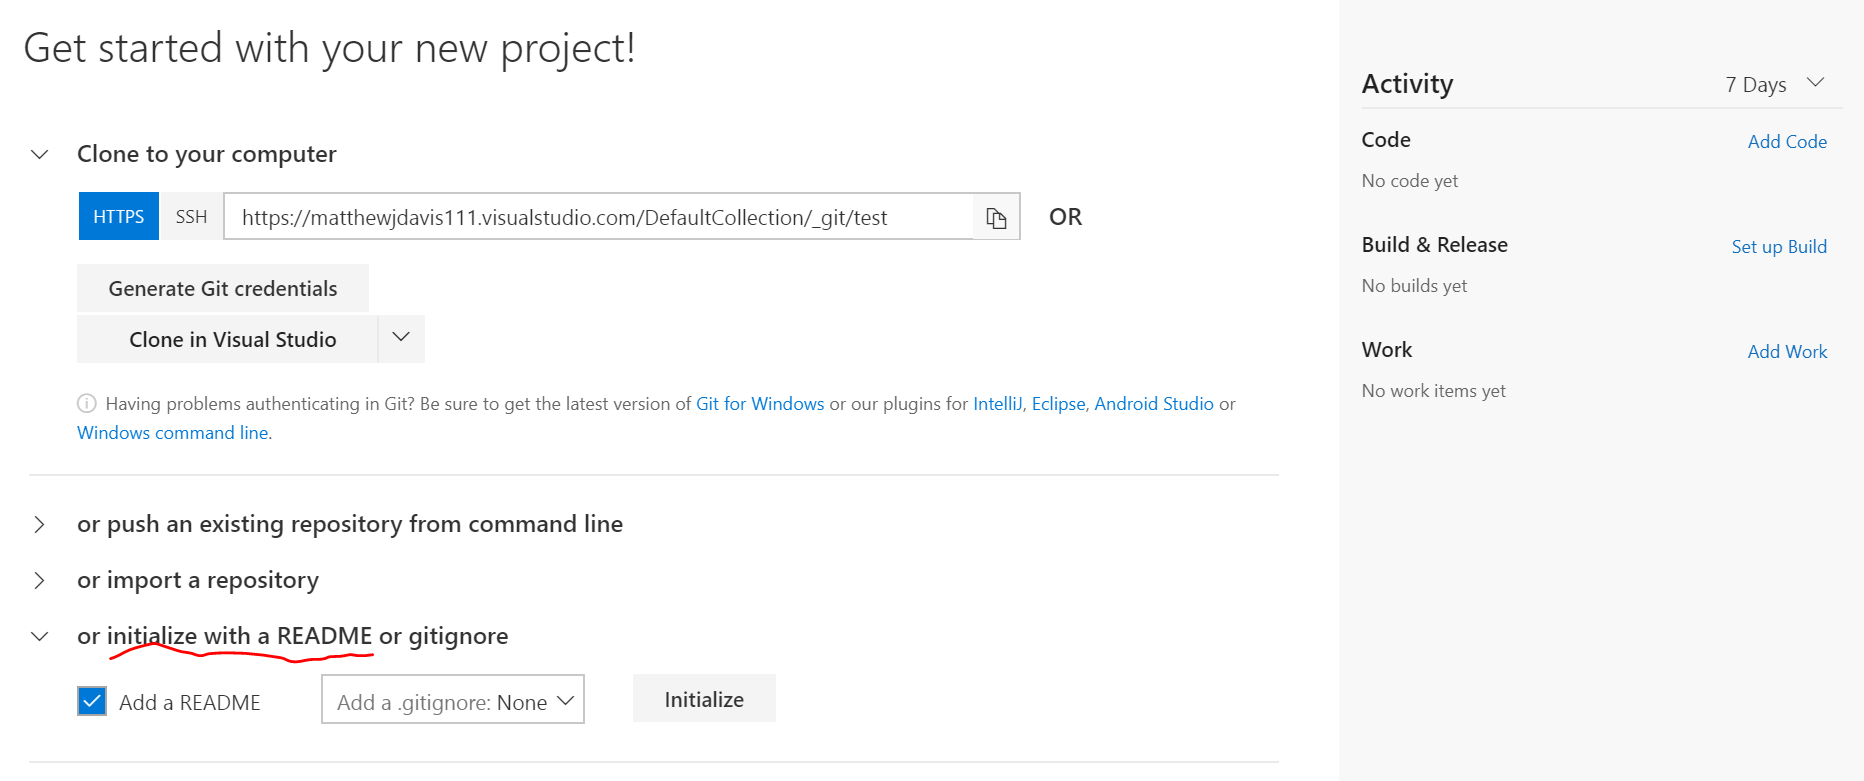
Click on the newly created project and select or initialize with a README or git ignore Click Initialize (you can select an ignore file item from the drop down, this will tell git what files to omit from source control tracking however it is not needed in this demo).
Click on the Code tab on the top menu
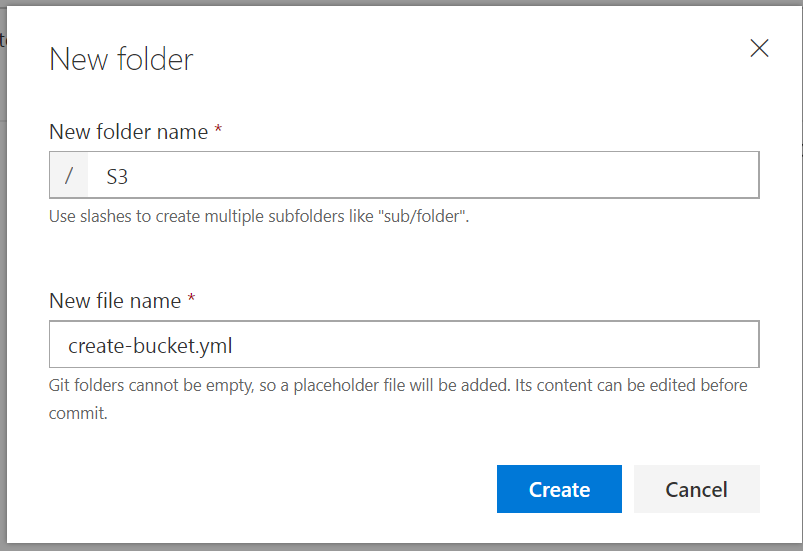
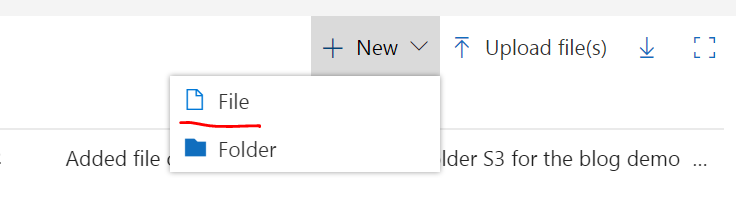
Click + New button and then Folder from the drop down and call it S3.
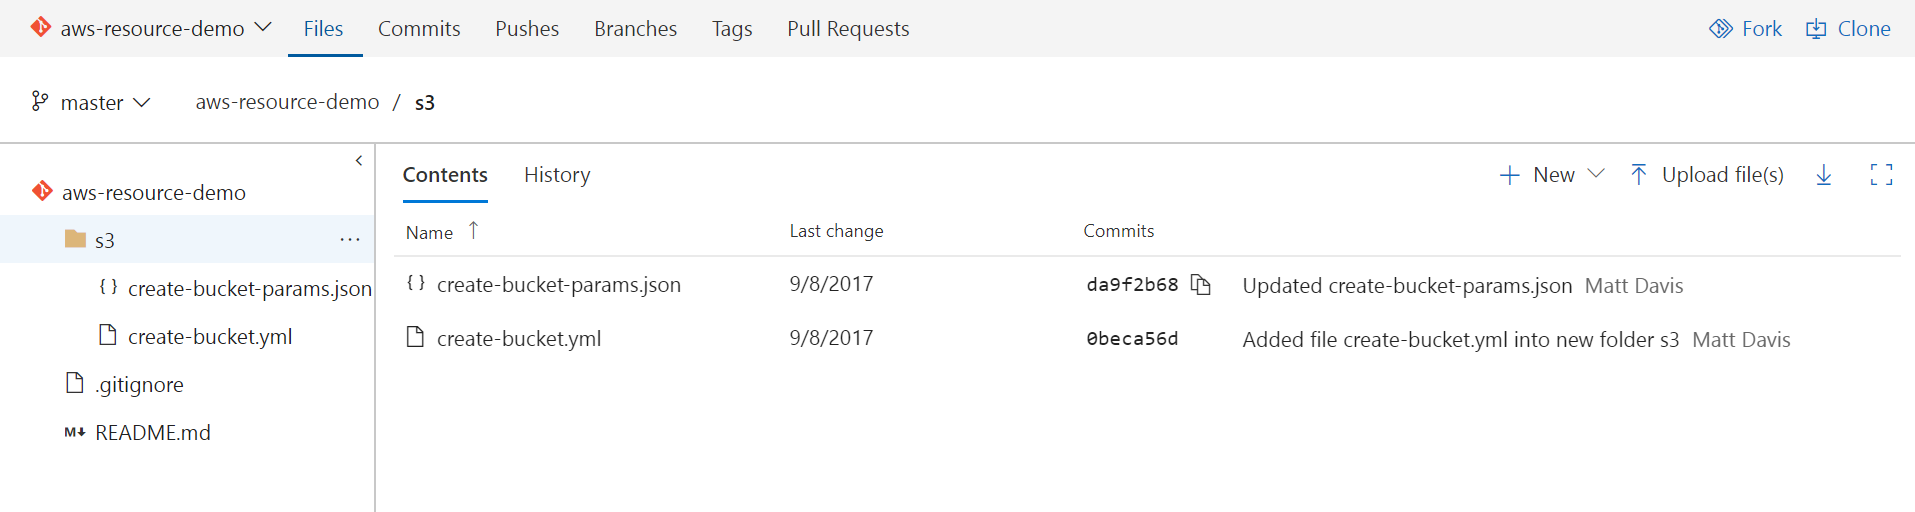
In the New Filename text box, enter: create-bucket.yml
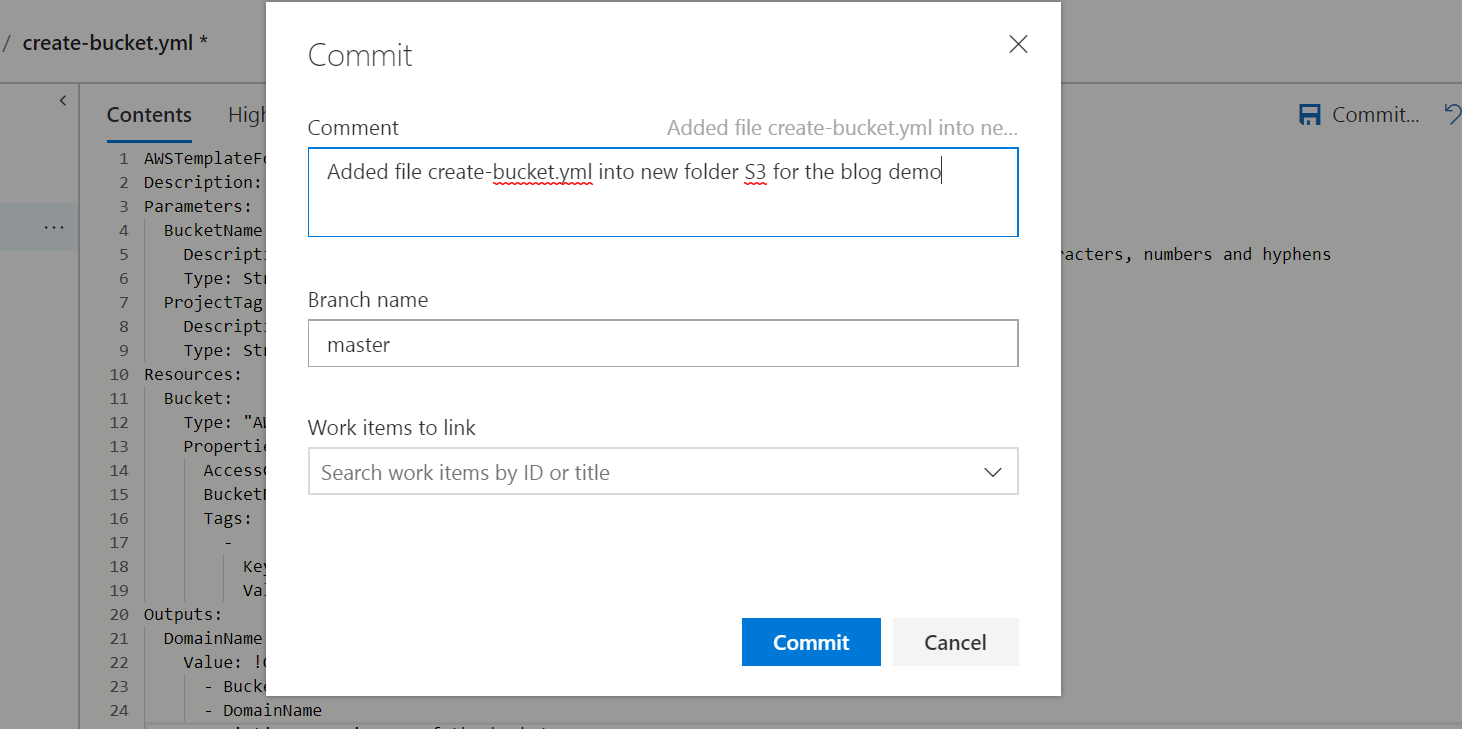
Copy the template code below into the file, click the Commit button. The commit dialogue box will appear, here you can change the commit message if you like and then click Commit
The template:
The template is a CloudFormation yaml file which will create an S3 bucket, give the account owner full access and tag it with a Project tag. It requires 2 input parameters, BucketName and ProjectTag.
Now we need a parameter file.
Click on the S3 folder, click on the + New button and select File from the drop down. For the name, enter: create-bucket-params.json
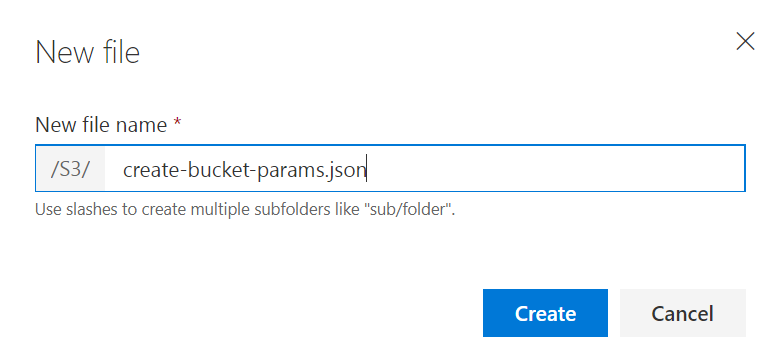
Add the parameter file code below (you must change the value of the BucketName from “matt-vsts-bucket” to something globally unique).
The parameter file is used to pass the two parameters required by the CloudFormation template of BucketName and ProjectTag. The parameters use key value pairs and the ParameterValue for BucketName should be changed so the S3 bucket is globally unique.
Change the following:
- ParameterValue of the BucketName from “matt-vsts-bucket” to something globally unique (See Rules for bucket naming)
- ParameterValue of Project (if you have other projects you tag by, if not leave as VSTS)
Click the Commit button. The commit dialogue box will appear, here you can change the commit message if you like and then click Commit
Build step
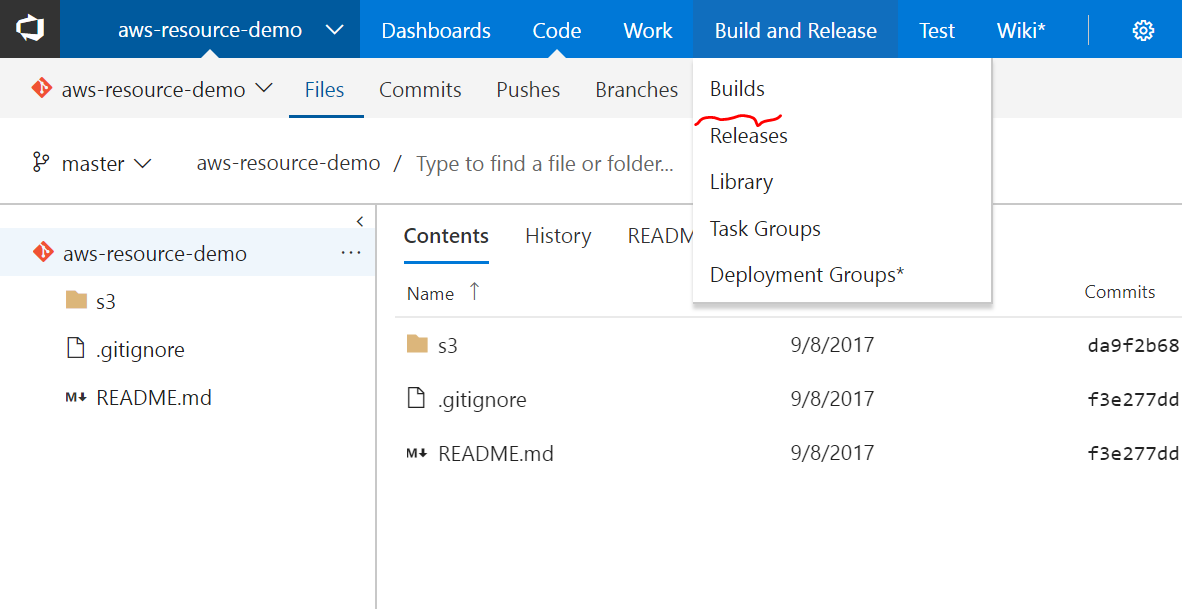
From the top menu, select Build and Release, then Builds
Click on + New Definition In the build template, select Empty Process
Select “Hosted Agent”.
The Get Sources section should be set to your master branch from the code you added to you repository earlier. This is the step where you can specify another source for your code such as Github or Bitbucket.
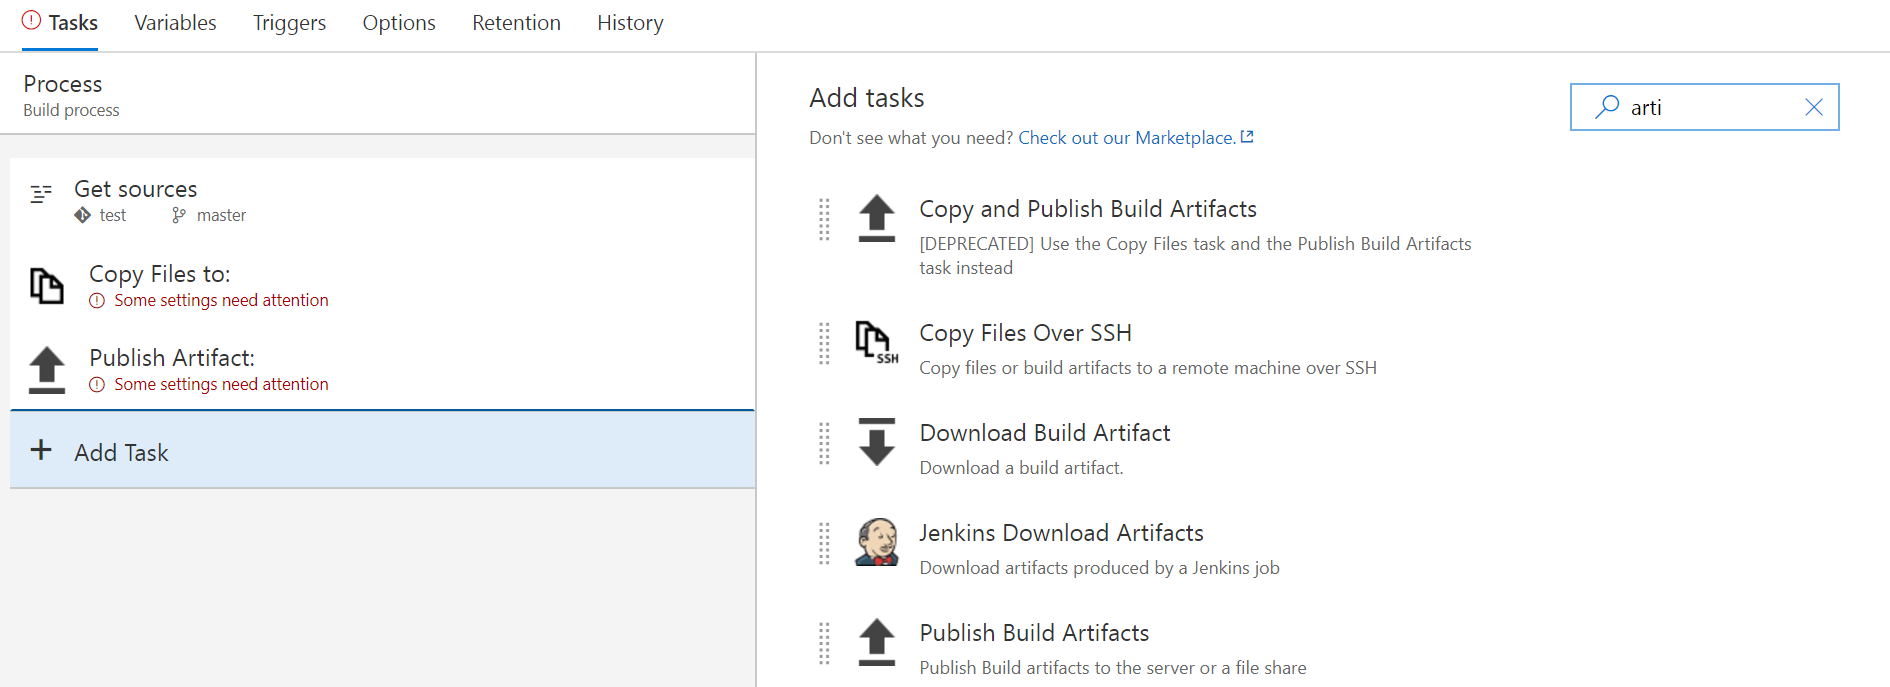
Add the following tasks:
- Copy Files to:
- Publish Artifacts:
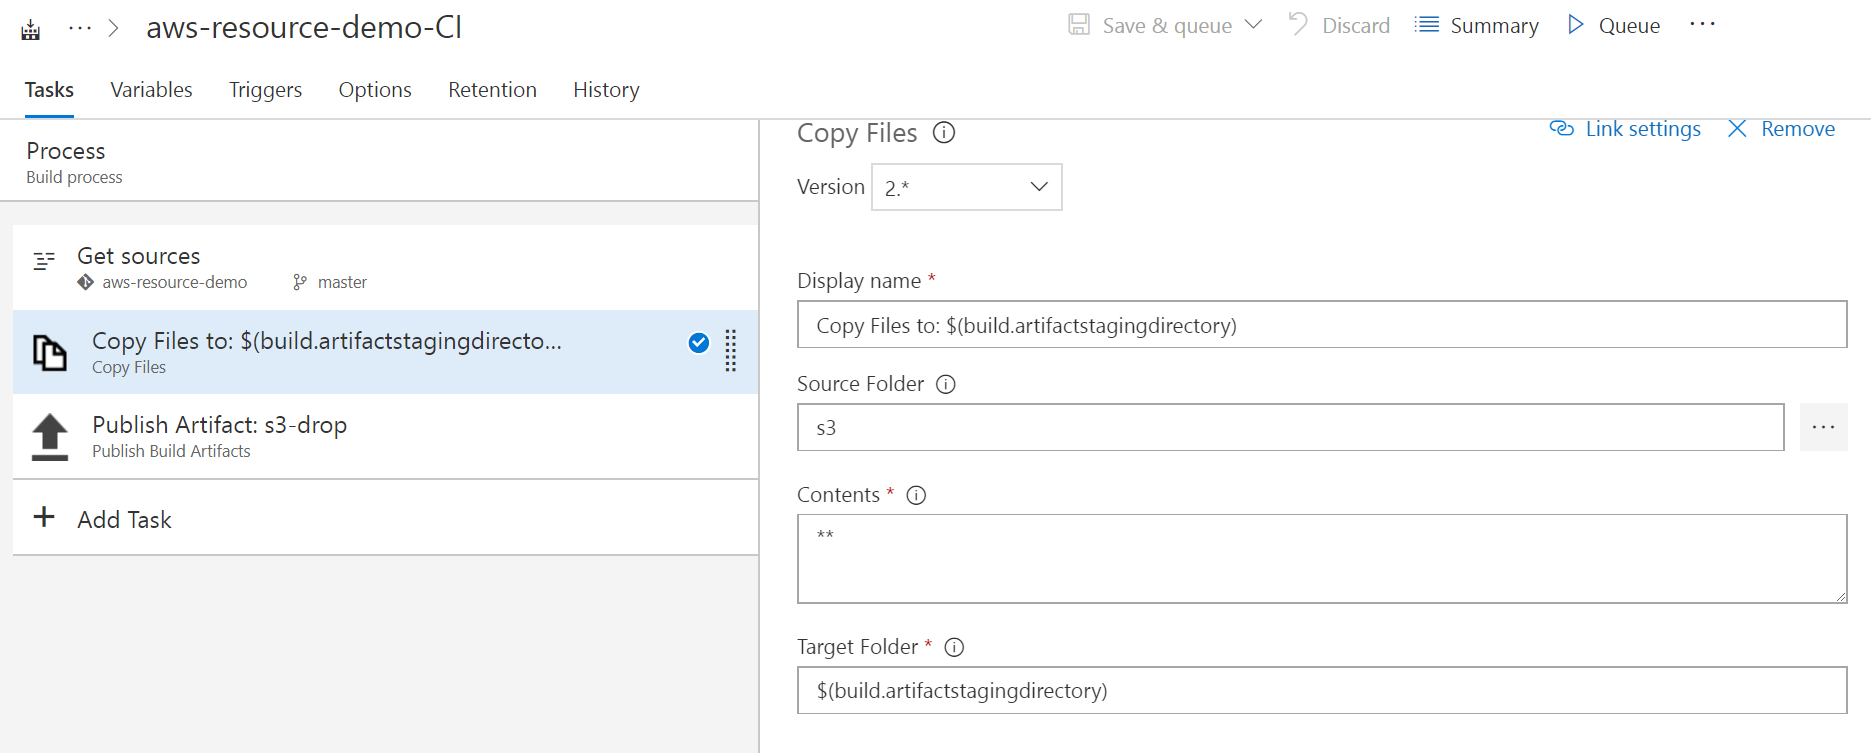
Copy build step
- Source Folder: S3 (you can click on the ellipsis to navigate to the folder too)
- Contents: ** (this copies all the files in the folder)
- Target Folder: $(build.artifactstagingdirectory)
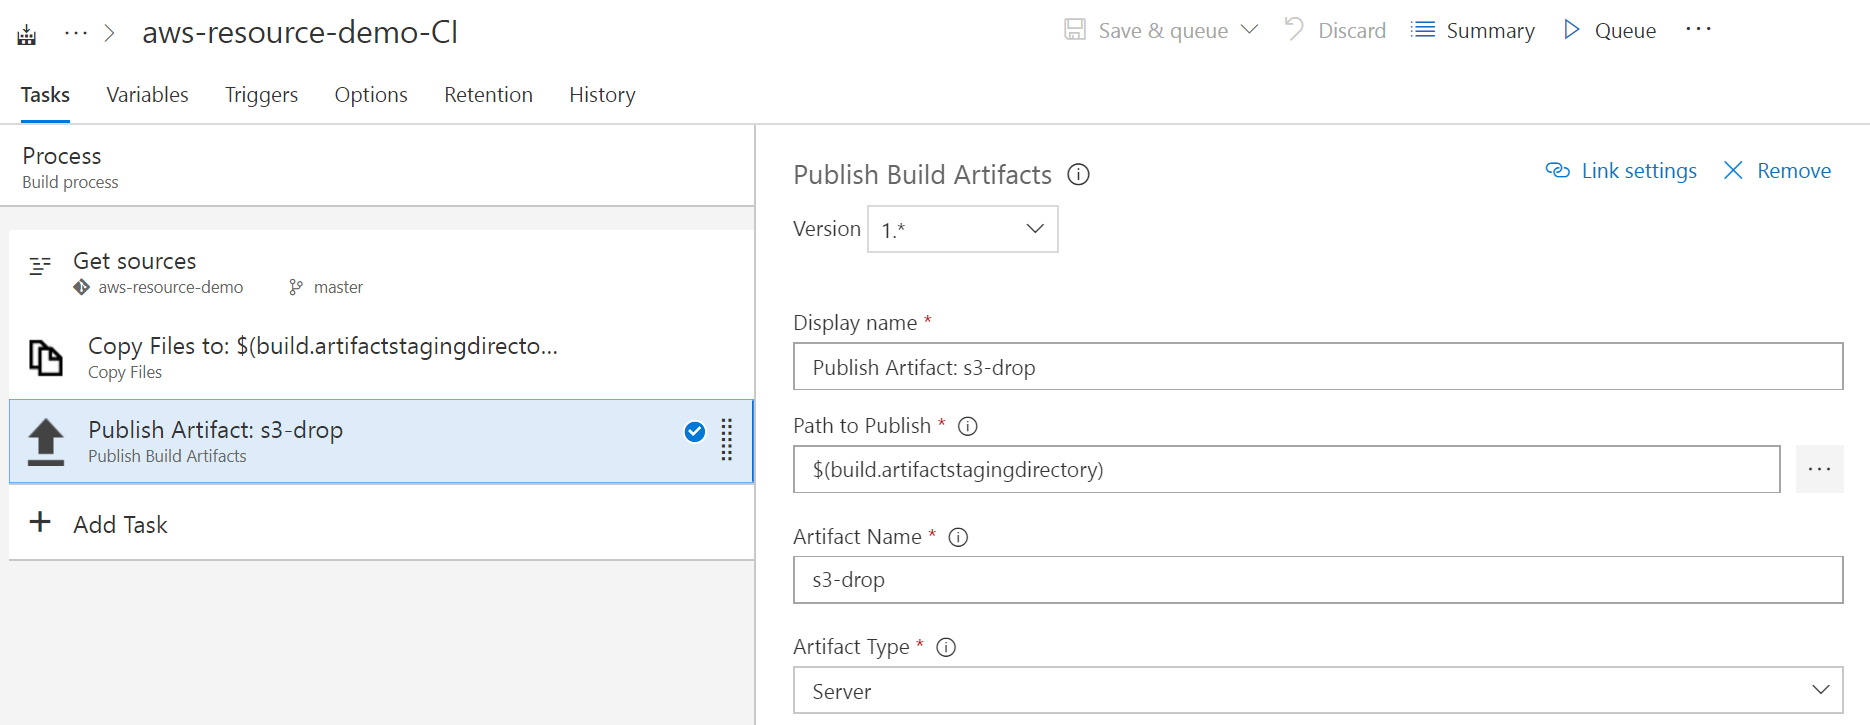
Publish Artifact build step
- Path to Publish: $(build.artifactstagingdirectory)
- Artifact Name: s3-drop
- Artifact Type: Server
- Click Save and Queue
- Click Queue
Release step
From the top menu, select Build and Release, then Releases
- Click + New Definition
- Select Empty Process
Call the Environments what you like, I’m calling mine Dev1 (this could be part of a dev - qa - staging - production pipeline).
- Click Save
- Enter a comment if you like then click OK
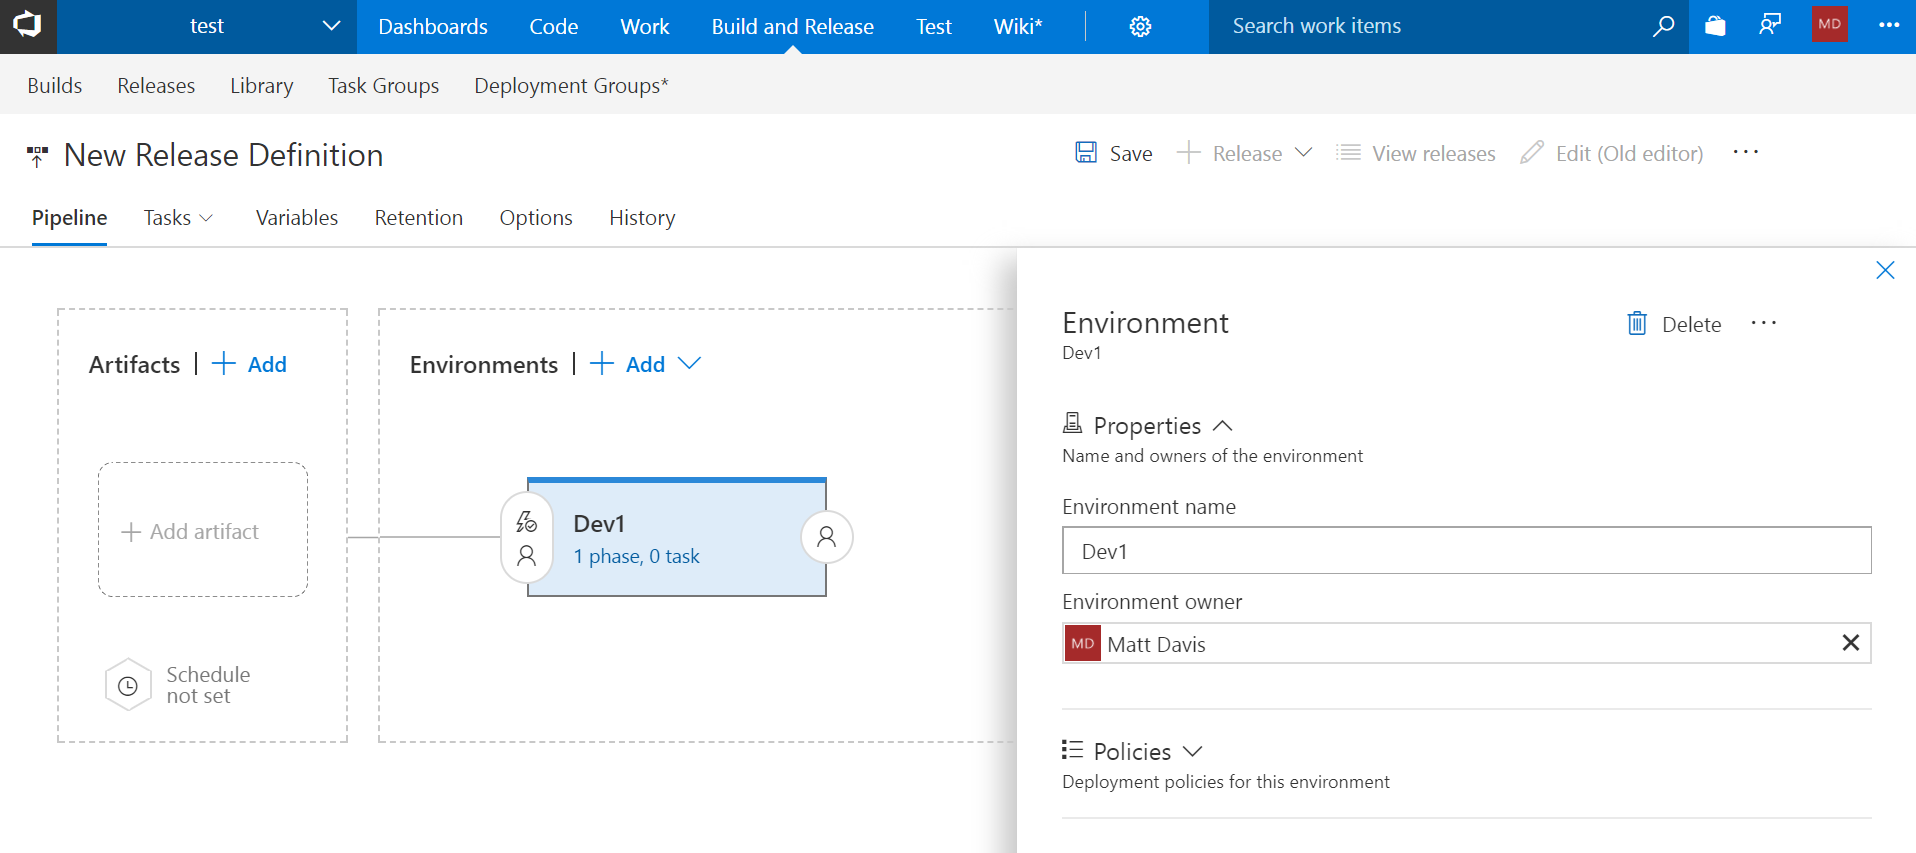
Artifacts
You should be taken to the pipeline view, if not click on Pipeline from the menu.
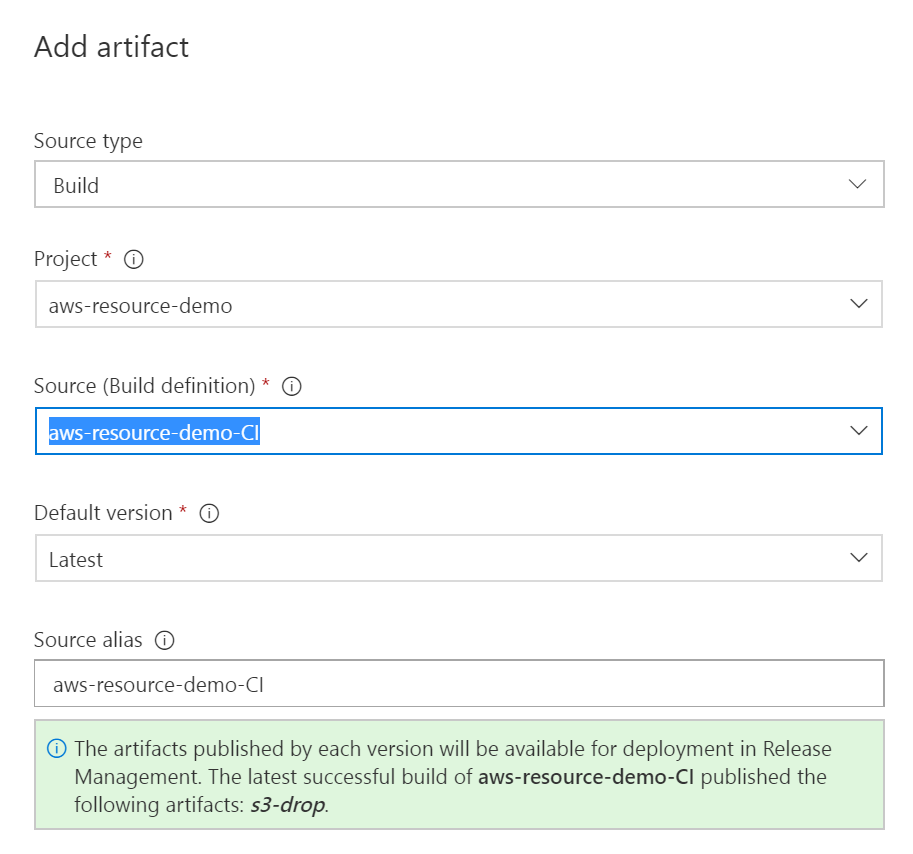
- Click + Add in the Artifacts box
- Choose the Source (build definition) from the drop down (you can leave the remaining settings as default)
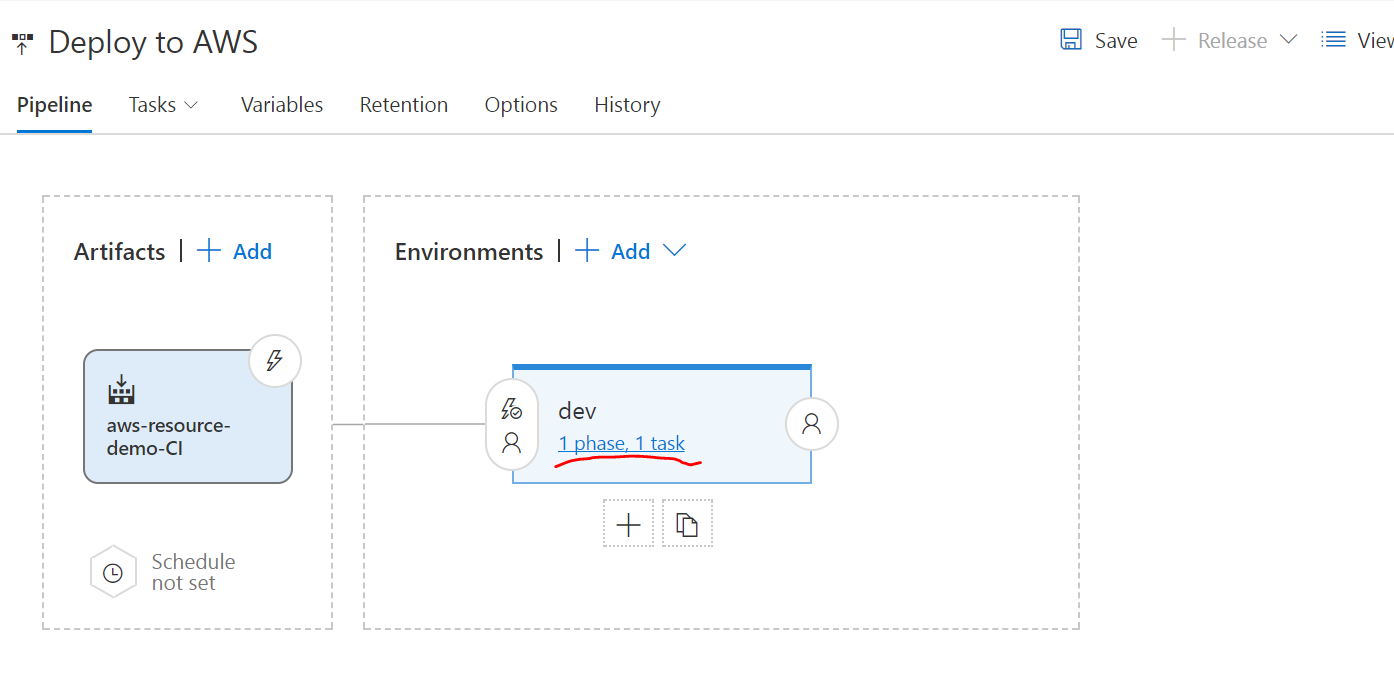
Release Tasks
Click on the Phase, Task link under the environment name
Select the AWS CloudFormation Create/Update Stack, click Add
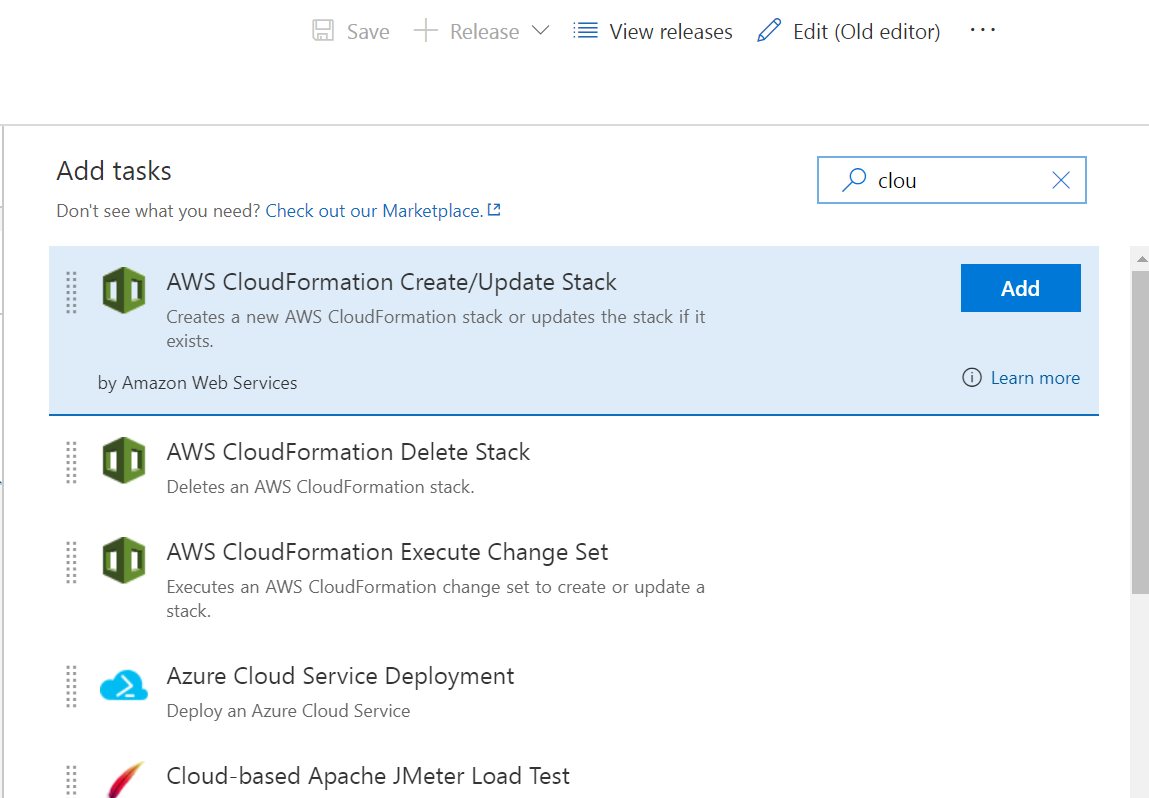
Enter in the following values
- Display Name: Create/Update Stack: s3-stack-vsts
- AWS Credentials: AWS-VSTS (or select whatever you called your service endpoint to AWS)
- AWS Region: eu-west-1 (or any other valid AWS region)
- Stack Name: s3-stack-vsts
- Template File: $(System.DefaultWorkingDirectory)/aws-resource-demo-CI/s3-drop/create-bucket.yml (you can use the ellipsis to navigate to the template file in the artifacts)
- Template Parameters File: $(System.DefaultWorkingDirectory)/aws-resource-demo-CI/s3-drop/create-bucket-params.json
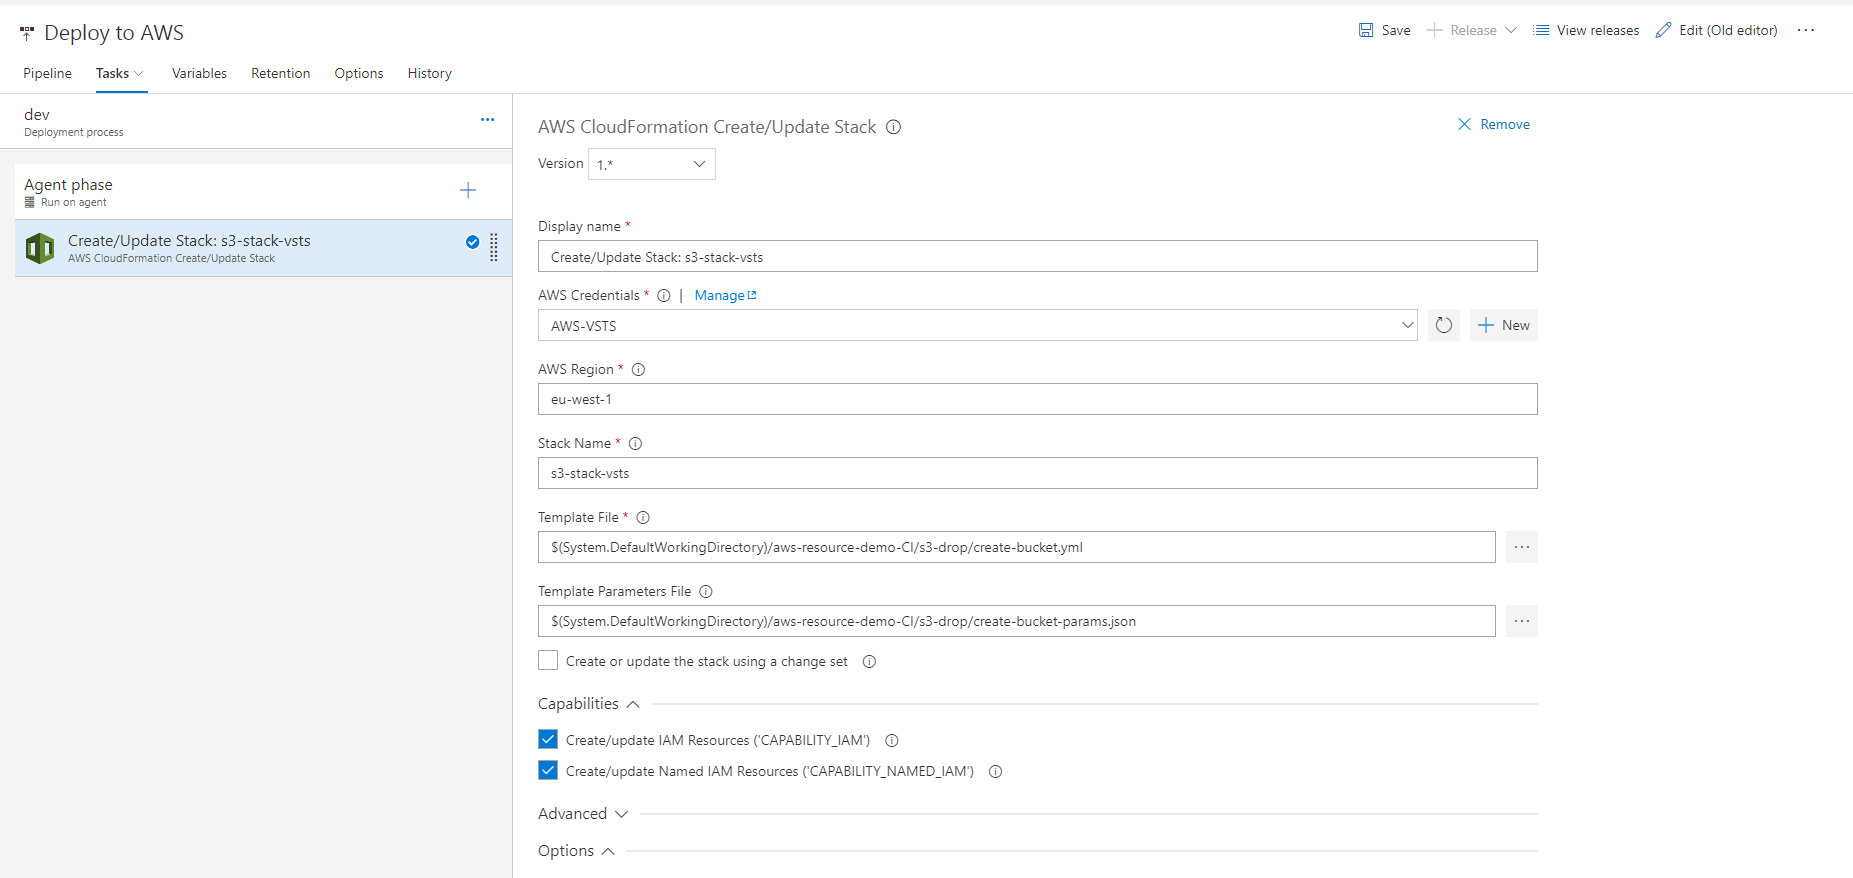
The rest can be left as default.
- Click Save
-
Enter a comment if you like and click OK
- Click Release
- From the drop down select Create Release
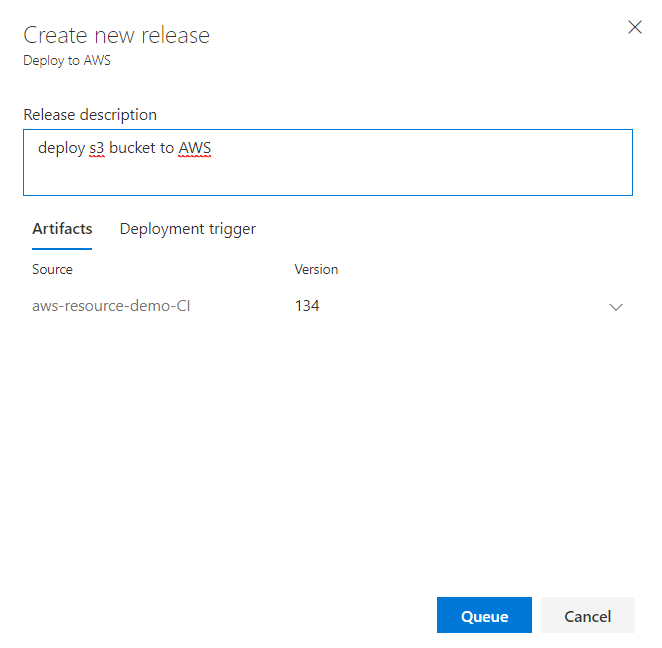
Add a description if you like Click Queue
Click on the Release-1 (or could be another number if there are previous releases) to access the newly created release. This will open the releases in a new browser tab.

If there are any errors, check on the log tab to see them.

Check release and cleaning up
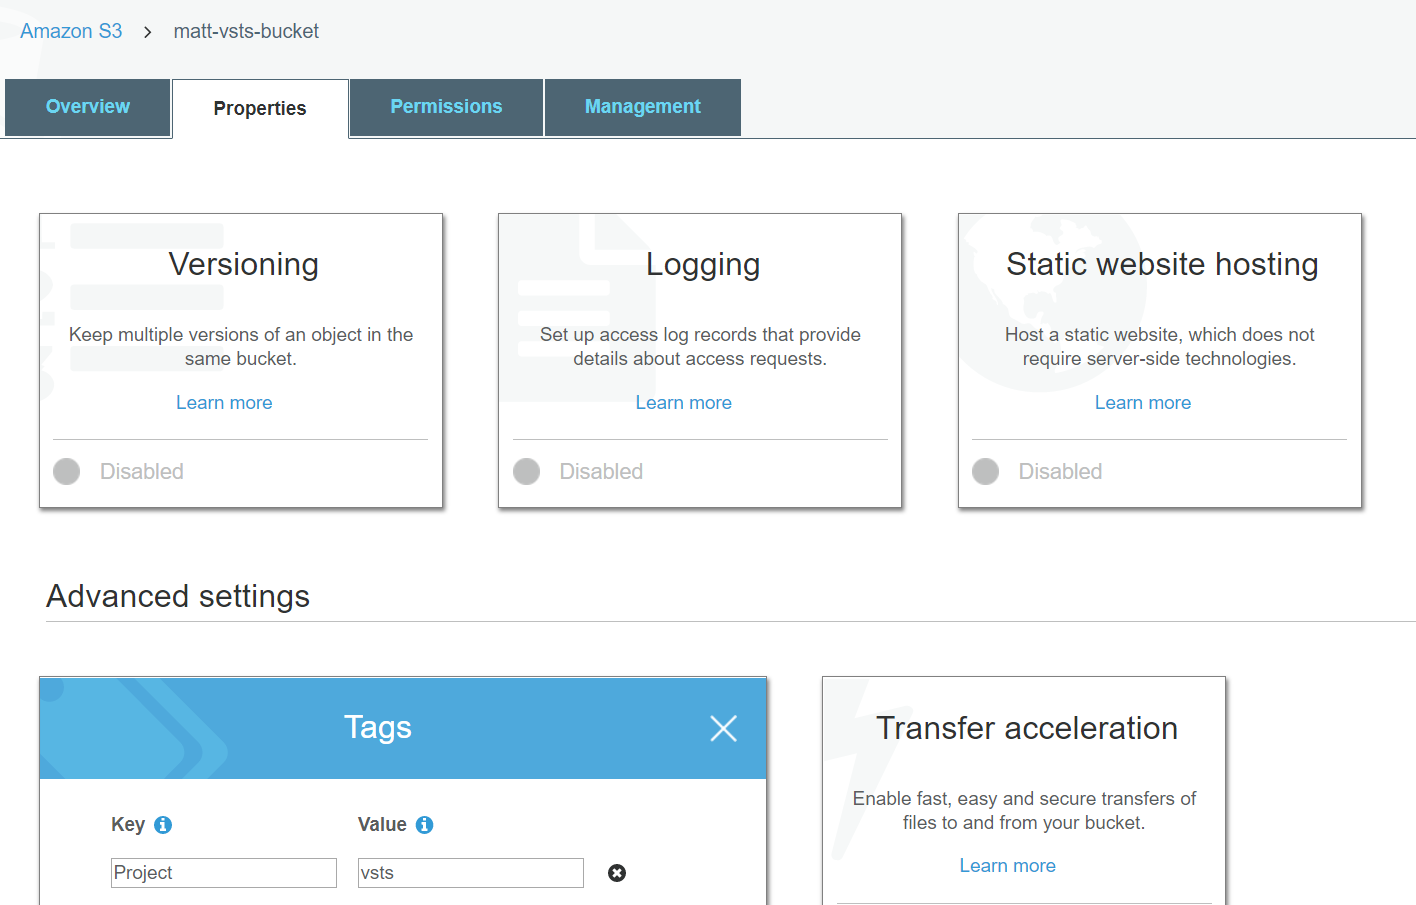
The last step is to go to the AWS console and check the bucket.
Here’s the bucket created with the Project tag.
If we go to the CloudFormation section, we can see the CloudFormation stack created from the VSTS release.
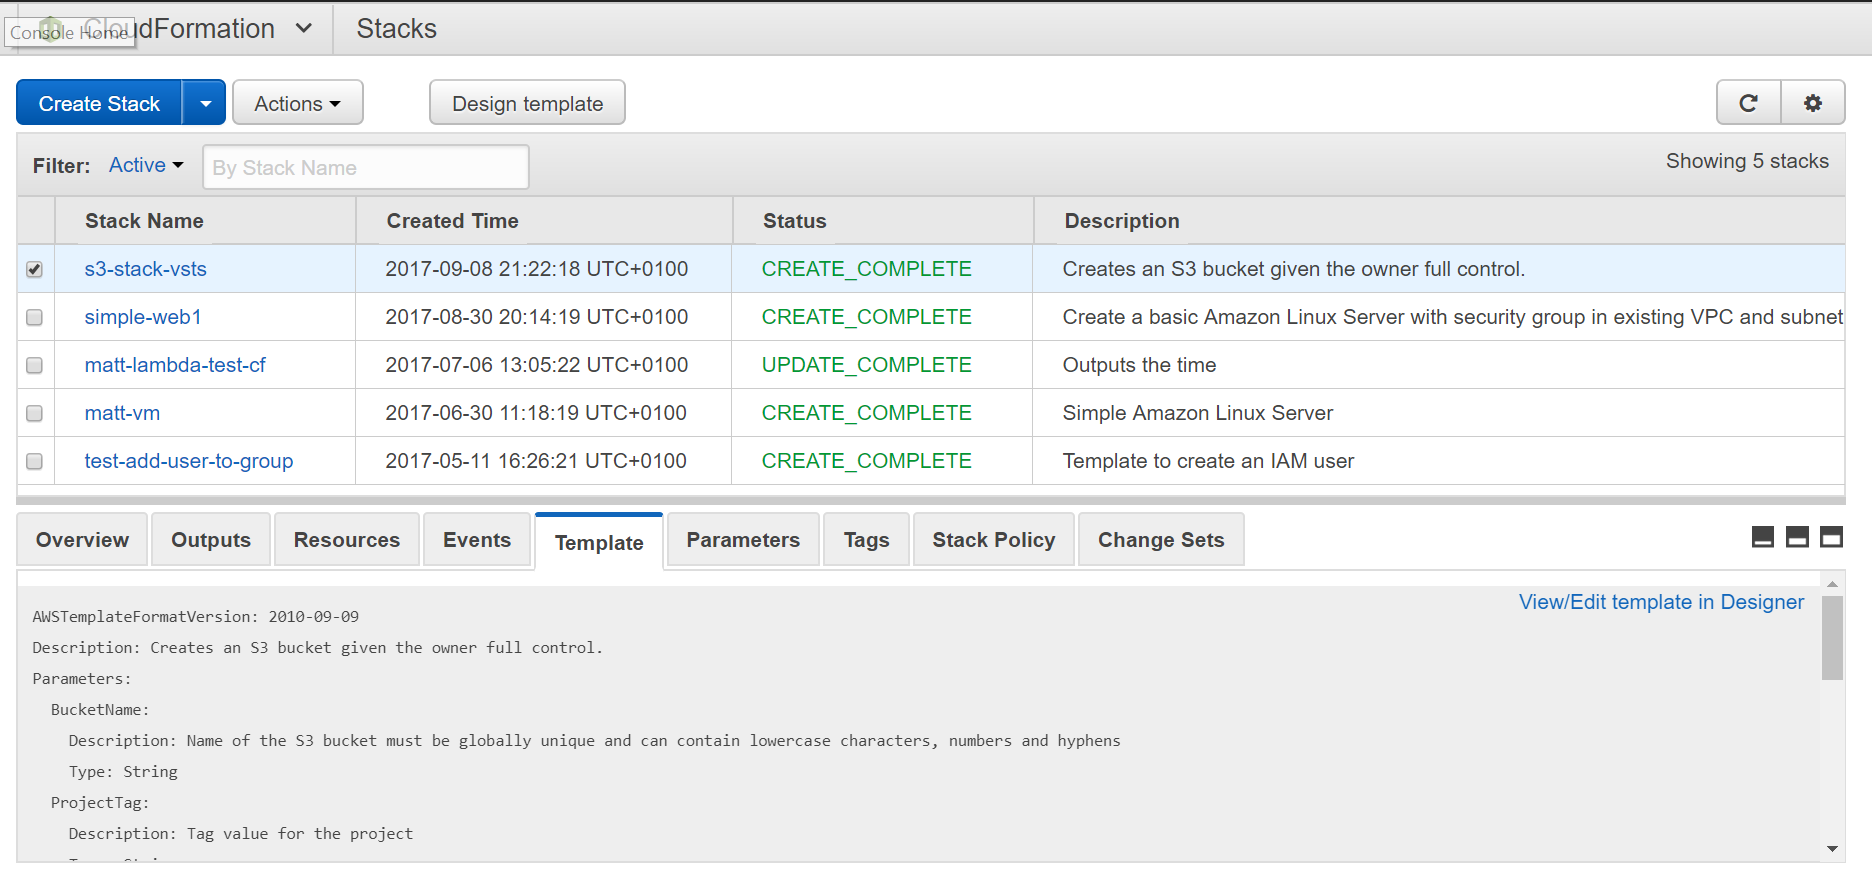
To clean up, with the stack checked, click Actions and select Delete Stack from the drop down.

The end
This was an overview how to use VSTS to deploy an AWS resource. The resource was a simple S3 bucket but the steps would be the same to deploy more complicated resources. Creating deployment pipelines in VSTS is super easy and brings powerful and configurable build and releases to both small and large teams with a small time investment to get it up and running. Once you have one environment being deployed to, it’s easy to copy that task and deploy to others. With that in mind, the parameter file would have to be updated to allow it to have environment variables passed to it, this can be done by a PowerShell script or use a Variable plugin from the market place to inject variables into the JSON script such as Variables Helpers Build and Release Tasks