Azure Active Directory Domain Services Part 2
July 2017
Overview
In part 1, we set up the networking for Azure Active Directory Domain Services. In this part we will implement AADDS using the portal. It was announced on July 2017 that AADDS will be available in the portal in this Microsoft blog post.
This is the manual bit at the moment (no PowerShell available), so login to the Azure portal.
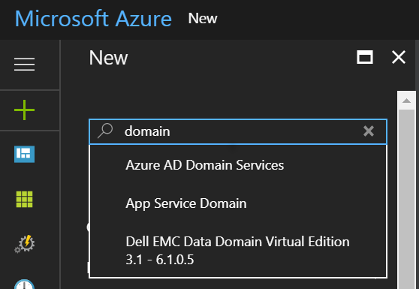
Click the “+” sign in the menu and search for “Domain Services” (Make sure you select “Azure AD Domain Services).
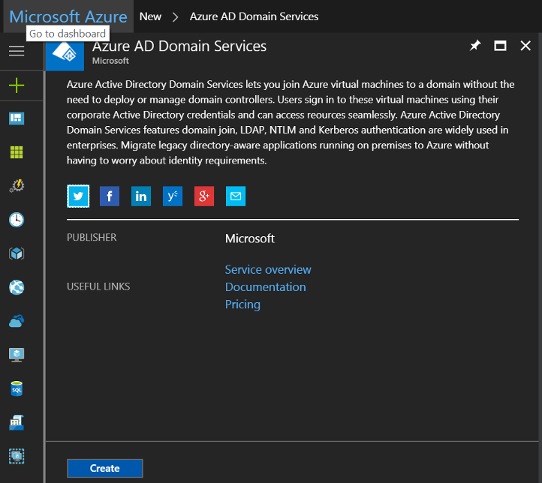
Click “Create”
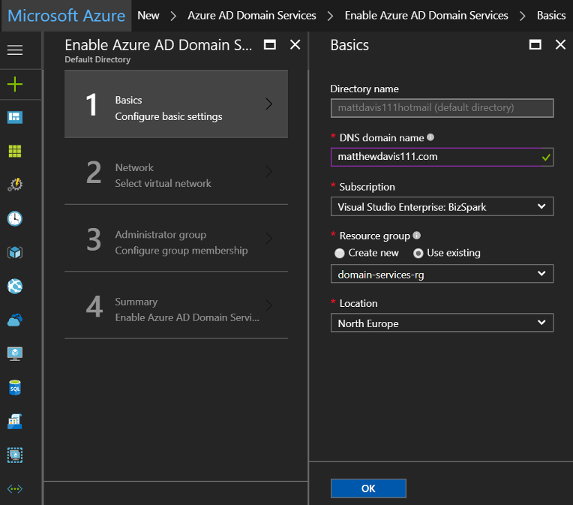
Fill in the basic config:
- DNS Name: yourdnsname.com
- Subscription: same one you created the VNETs in
- Resource Group: Use exsisting or create new, up to you (I’m managing everything in one resource group)
- Location: Same as where you created the VNETs
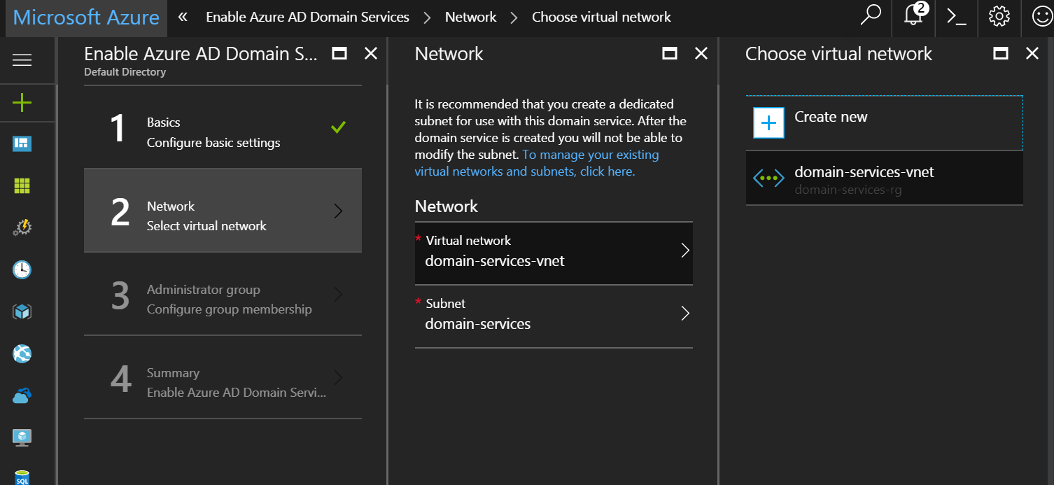
Select Virtual Network: Select the Classic VNET created
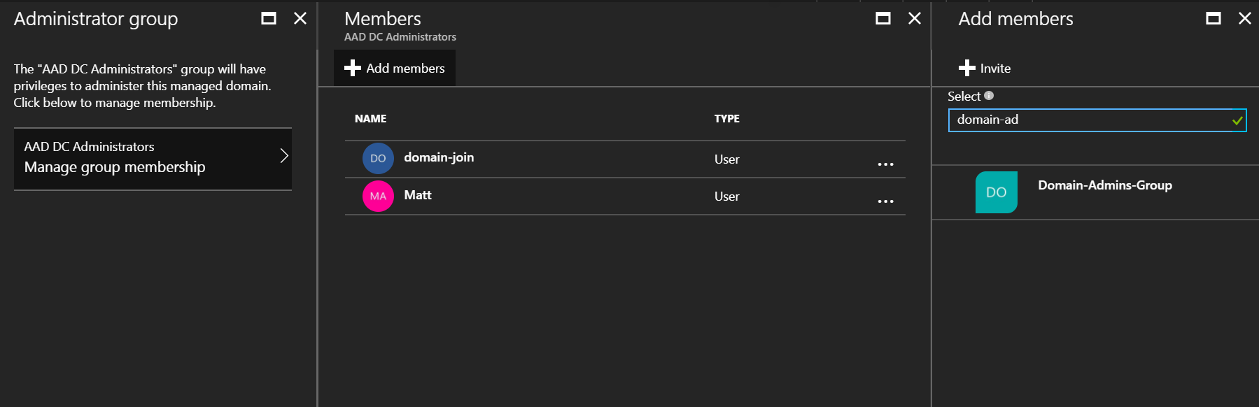
Administrators Group: Click “Add members” to select users or groups to be added to the AAD DC Administrators group
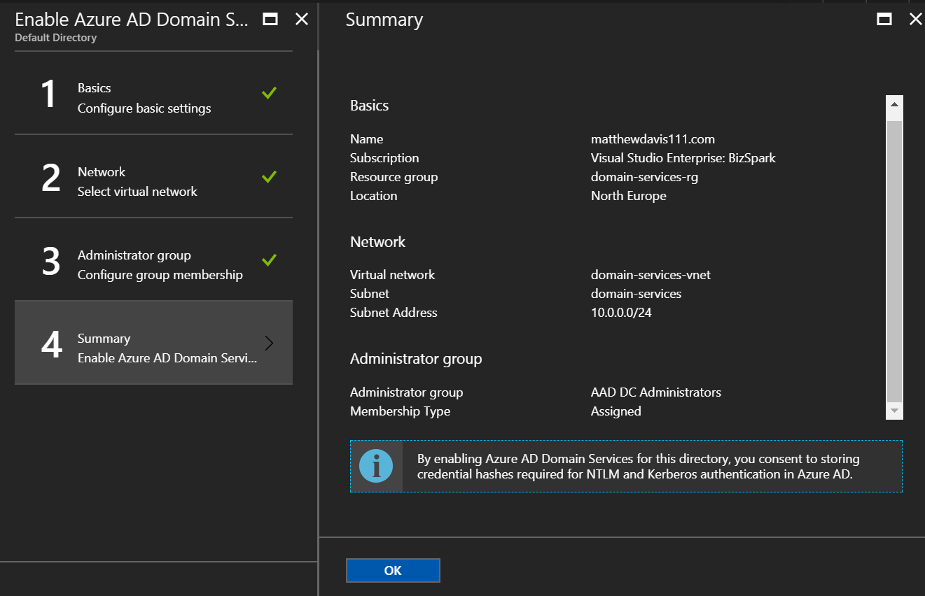
View the summary and click “OK” to create the domain.
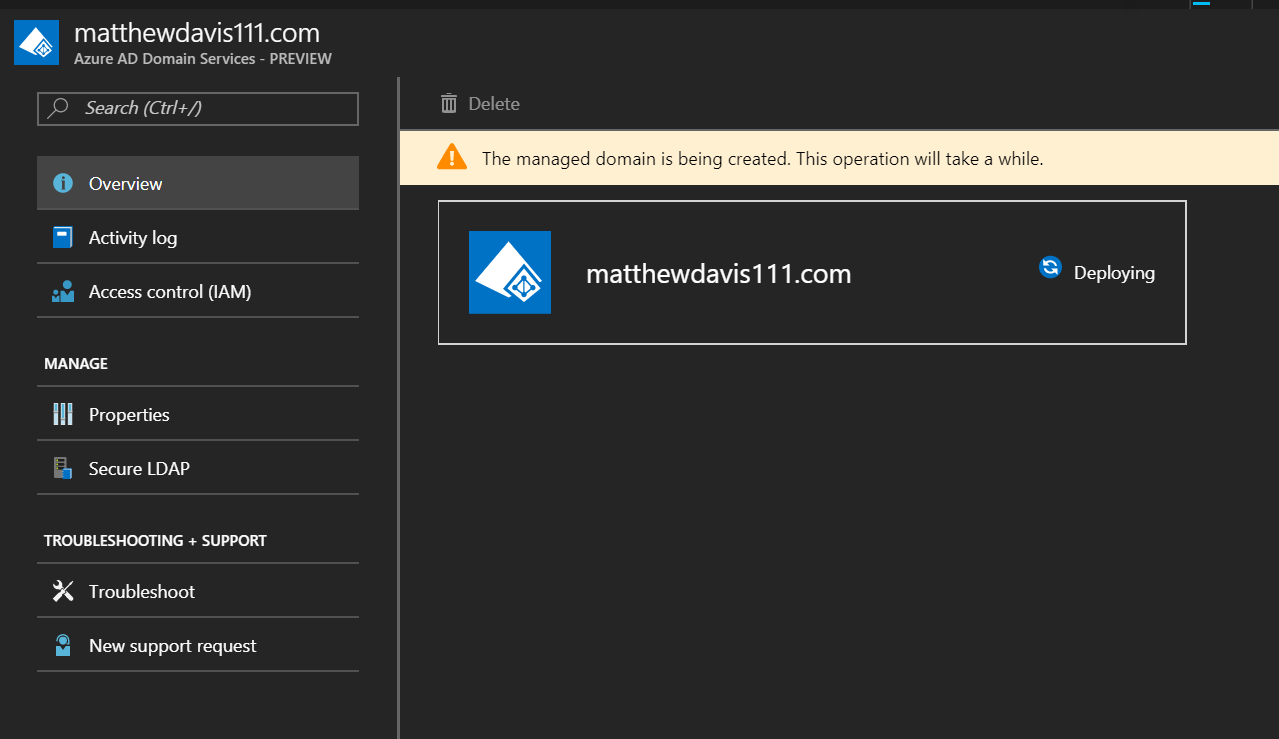
You should now see the AADDS as a resource in your resource group

It will take some time to deploy, it took an hour before mine had finished… time to get a brew.
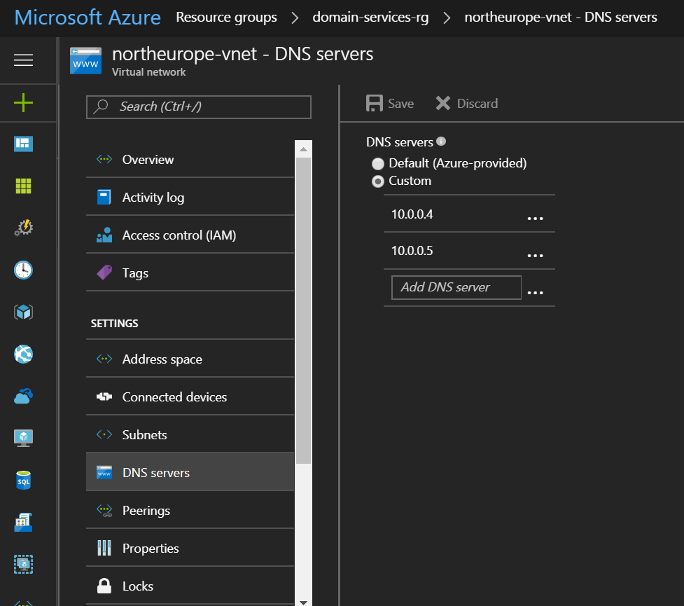
Update the DNS Server values of the VNET
Now we need to update the VNET DNS server values so VMs in the VNET can resolve the domain name to be able to join it.
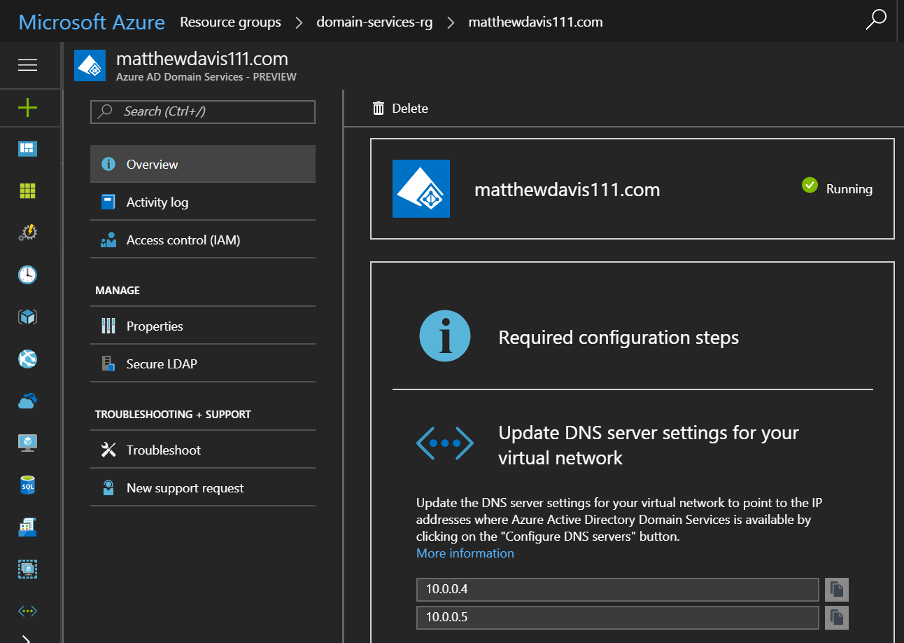
Get the DNS server values from the Portal. Click on the AADDS resource and Overview to see the DNS server values:
You can update the VNET DNS settings via the Portal or use the PowerShell script below. The script needs the VNET name, resource group name and two DNS server addresses. The script will save the current ARM VNET in a variable, update the DNS server addresses then update the VNET
That’s it, you now have your Azure Active Directory Domain Services set up and VNETs configured, ready for VMs to be added and joined to the domain. In the next part, we’ll set up a management server, allowing you to manage the Directory.