Azure Active Directory Domain Services Part 4
August 2017
Overview
In part 1 we configured the networking, in part 2 set up Azure Active Directory Domain Services (AADDS) and in part 3 we setup a management VM. In this post we’ll join the management VM to the domain to enable DNS and Active Directory management.
Domain Management User
To join the domain in the first instance and manage it, you’ll need to use an account that is a member of the AAD DC Administrators group. A user (or users) were specified when setting up AADDS, to check what users are members of this group you can use AzureRM PowerShell cmdlets:
(Get-AzureRmADGroup -SearchString AAD).Id.guid | Set-Clipboard
Get-AzureRmADGroupMember -GroupObjectId paste clipboard here
Or via the Azure Portal
Search for “Directory” and select Azure Active Directory

Find the AAD DC Administrators group and select it to see the users and add more users
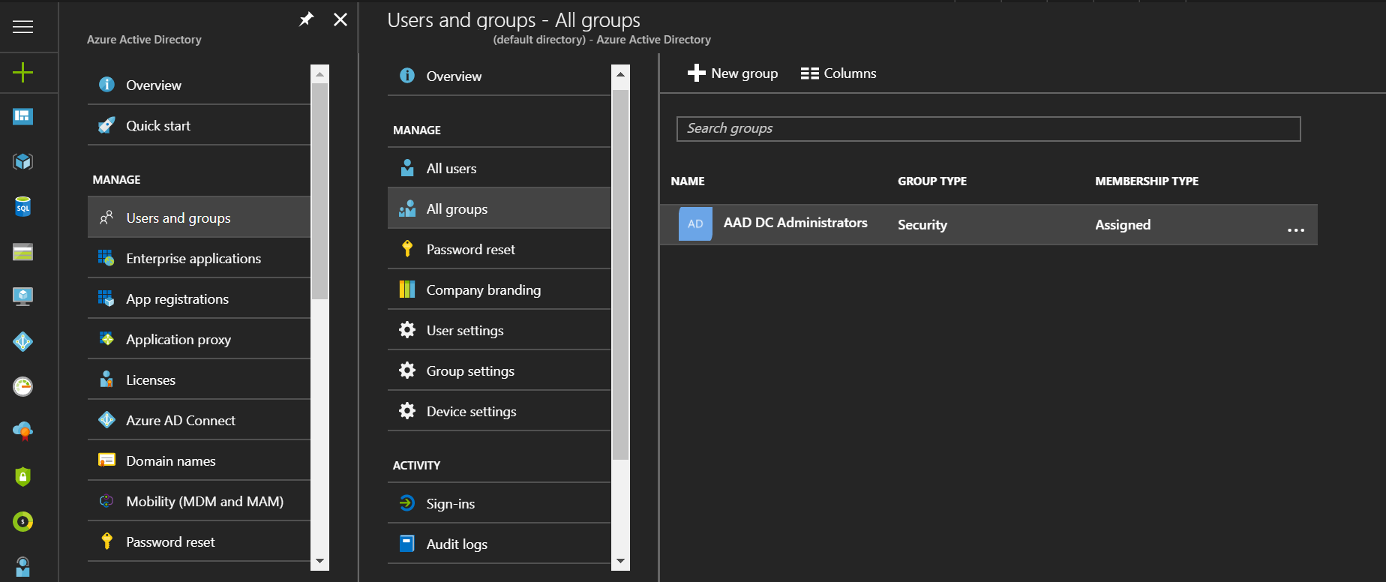
I’ve created a user called domain-join which is a member of the AAD DC Administrators group and I’ll be using this account to join the domain and manage it for this post. In future I plan to use this user to domain join VMs to the domain via different configuration management software such as Chef and PowerShell DSC for testing.
Start the management VM either through the portal or via PowerShell
Get-AzureRmVM -Name ds-manag-vm -ResourceGroupName DOMAIN-SERVICES-RG | Start-AzureRmVM
Connect to the VM via RDP, you can use PowerShell to set the public IP of the VM to your clipboard and open the RDP prompt as before:
(Get-AzureRmPublicIpAddress -Name domain-services-vm-pip -ResourceGroupName domain-services-rg).PublicIpAddressVersion | Set-Clipboard
mstsc
Login with the admin user that was created with the vm dsadmin (or whatever you called it).
Start a PowerShell session as Administrator
You’ll need to authenticate to the domain when joining it so use the Get-Credential cmdlet to store the domain credentials in a variable.
Note I’ve always had success using the UserPrincipalName of the user. The samaccountname may not be as expected in Azure AD as outlined at the bottom of this Microsoft document on domain joining to Azure AD Domain Services.
$creds = Get-Credential
Add-Computer -Credential $creds -DomainName yourdomain.com
Restart-Computer -Force
You should now be able to login with the domain user you used to join the domain with (or any other user who is a member of the AAD DC Administrators)
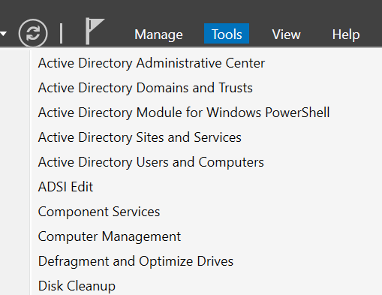
Open Server Manager (search for Server Manager) if it doesn’t open automatically on start and go to Tools on the top right. Select Active Directory Administrative Centre
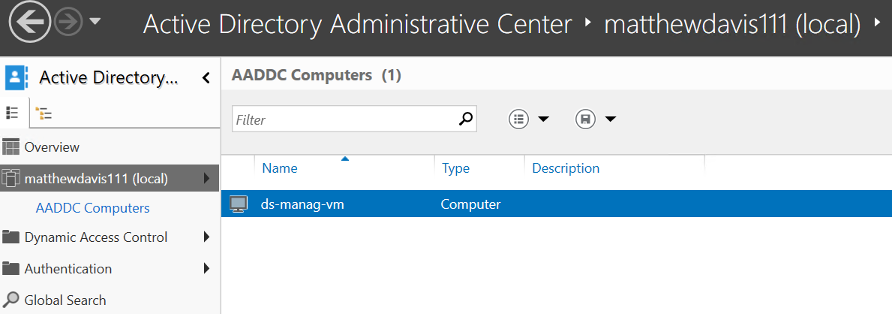
Click on yourdomain (local) on the left hand side and then AADDC computers. There you should see your management VM.
If you click on AADDC Users, you’ll be able to manage your users there, however you won’t be able to create any, you’ll need to do that through the Azure portal or via AzureRM PowerShell.
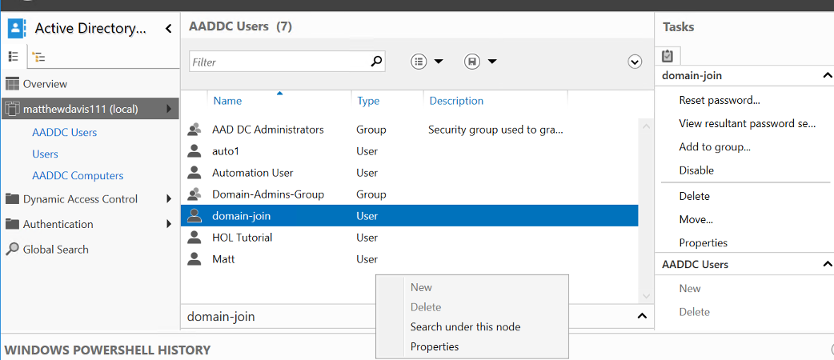
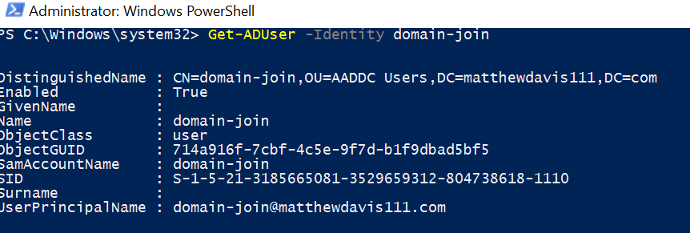
You can use AD commands to see users too.
DNS Management
Open the DNS tool, from the Tools menu on the top right of server manager, select DNS.

In the dialog box, check the radio button of “The following computer:” and enter your domain name.
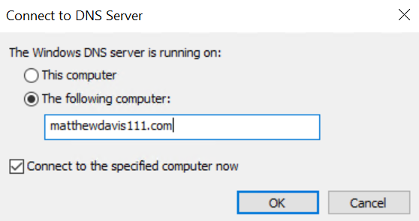
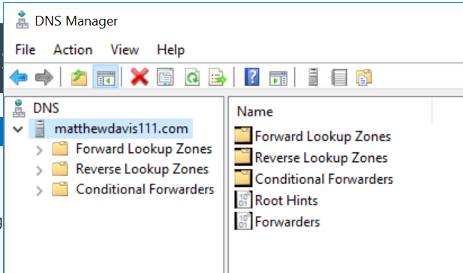
You should now be able to add and edit your custom DNS records
Group Policy… I almost forgot!
Yeah, so I forgot to install Group Policy Management Console which is not going to help in the management of group policy.
To install, open up a PowerShell console as an administrator and install the windows feature:
Install-WindowsFeature -Name GPMC
Open up Group Policy Management from the tools menu in Server Manager and you’ll be able to create and edit group policies through the familiar interface.
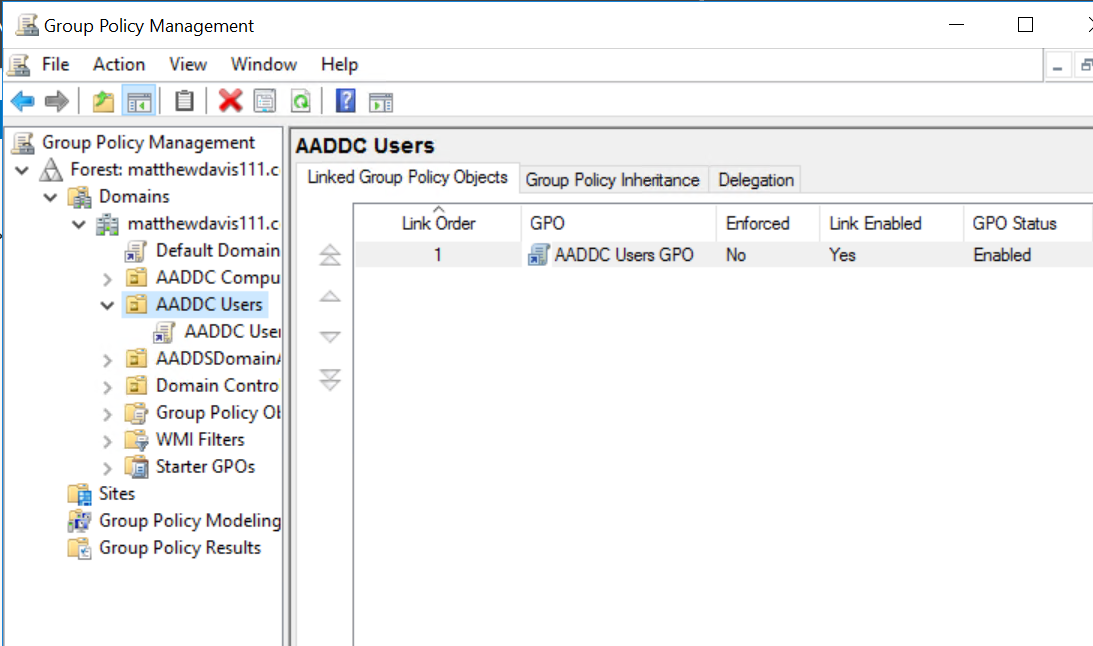
That’s as far as I’ve got with Group Policy so will be interesting to see if it behaves the same as it does in normal Active Directory.
That’s it for this series. I think AADDS is great for setting up and testing, it does eat into your credits and although we’ve automated as much as possible at the moment, it still takes a bit of time to create. I plan on using it for a week or so of testing and then tearing it down. I do think this would be very handy for a company that wanted to run VMs in Azure and manage them without the need to set up a DC.